
by Novus
Been quite awhile between posts for me. Mostly due to my new laser cutter and working on getting some new products out there for you guys. More on that at the end of the post.
Back before LVO this year, Chris Loomis and I played a warm-up game and he trotted out his amazing ski/mountain Resistance force. All of his troop bases had little handmade skis on their feet or strapped to their backs. All the bases were done up in a snowy motif and crafted superbly well. It's a very impressive looking army.
Also, the conversions and kit bashes I've seen on the Hawk Forum and Orbital Bombardment (among others) really made me miss the work I used to put in on my Nurgle 40k army.
So I got to thinking and came up with a pretty good idea for a custom base scheme for my Valkyries.
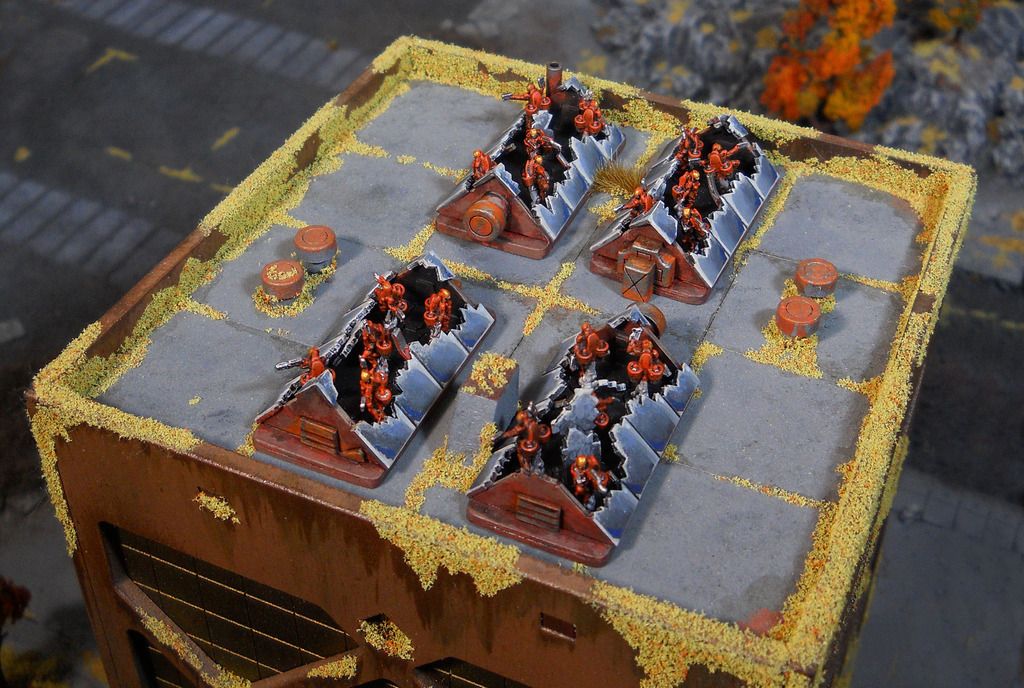
Show them smashing up through skylights atop a building! They spend most of their time up there, anyway. And, it's a great way to exercise my conversion skills again.
They came out pretty good, though the paint isn't my best.

Differentiated the squads by putting unique roof hardware on them. Here I used ducting and cooling equipment.

All of them have vents on the other end.


This is how I made these bases...

First, cut two sheets per squad of 0.040" plasticard into a rough approximation of the standard Hawk infantry base. I also measured ahead to make sure the Evergreen plasticard squares I was using would fit as expected.

Then, with a single-hole punch and some hand strength, punch where you want your troops to stand on the base. You'll need to plan ahead! Test fit and mark everything before you go too far. The 'X' above told me where the center was and the little hash marks told me where the end wall would be.


If you don't have Eagle-talon-like hand strength, you can use a bar clamp to work the hole punch.
At this point, I had two sheets of styrene that looked like this.
Which I glued together with Testors model glue...
... clamped them together with some scissor clamps.

Next, I got to work on the end walls. I marked out two Isosceles triangles as end walls and supports for the styrene glass bits.

Cut them carefully with my woodworking square.

And ended up with what you see above.

Then I cut small pieces of 90 degree styrene angle bar to use as supports/guides for the end walls.

I glued them on to the end walls.

And glued the end walls on to the bases using the angled styrene plasticard. I also rounded off the corners of the bases in here, somewhere.

By the way, the dots you see on the styrene told me which wall went on which end of the base as the bases weren't perfectly square and the walls needed to be cut to size because of it.
Next, I broke off some Evergreen plasticard "sidewalk" to use a the glass panes.

Then, chewed up the edges with a sheet metal nibbler.

Checked the fit to make sure it was all going to go together properly.

And glued it all together!
The only Hawk parts used in these Valkyrie bases are the Valkyries themselves. I also added some other bits of plasticard in the middle to simulate breaking glass as well as the roof vents and other equipment. But all of that happened after gluing in the troops.

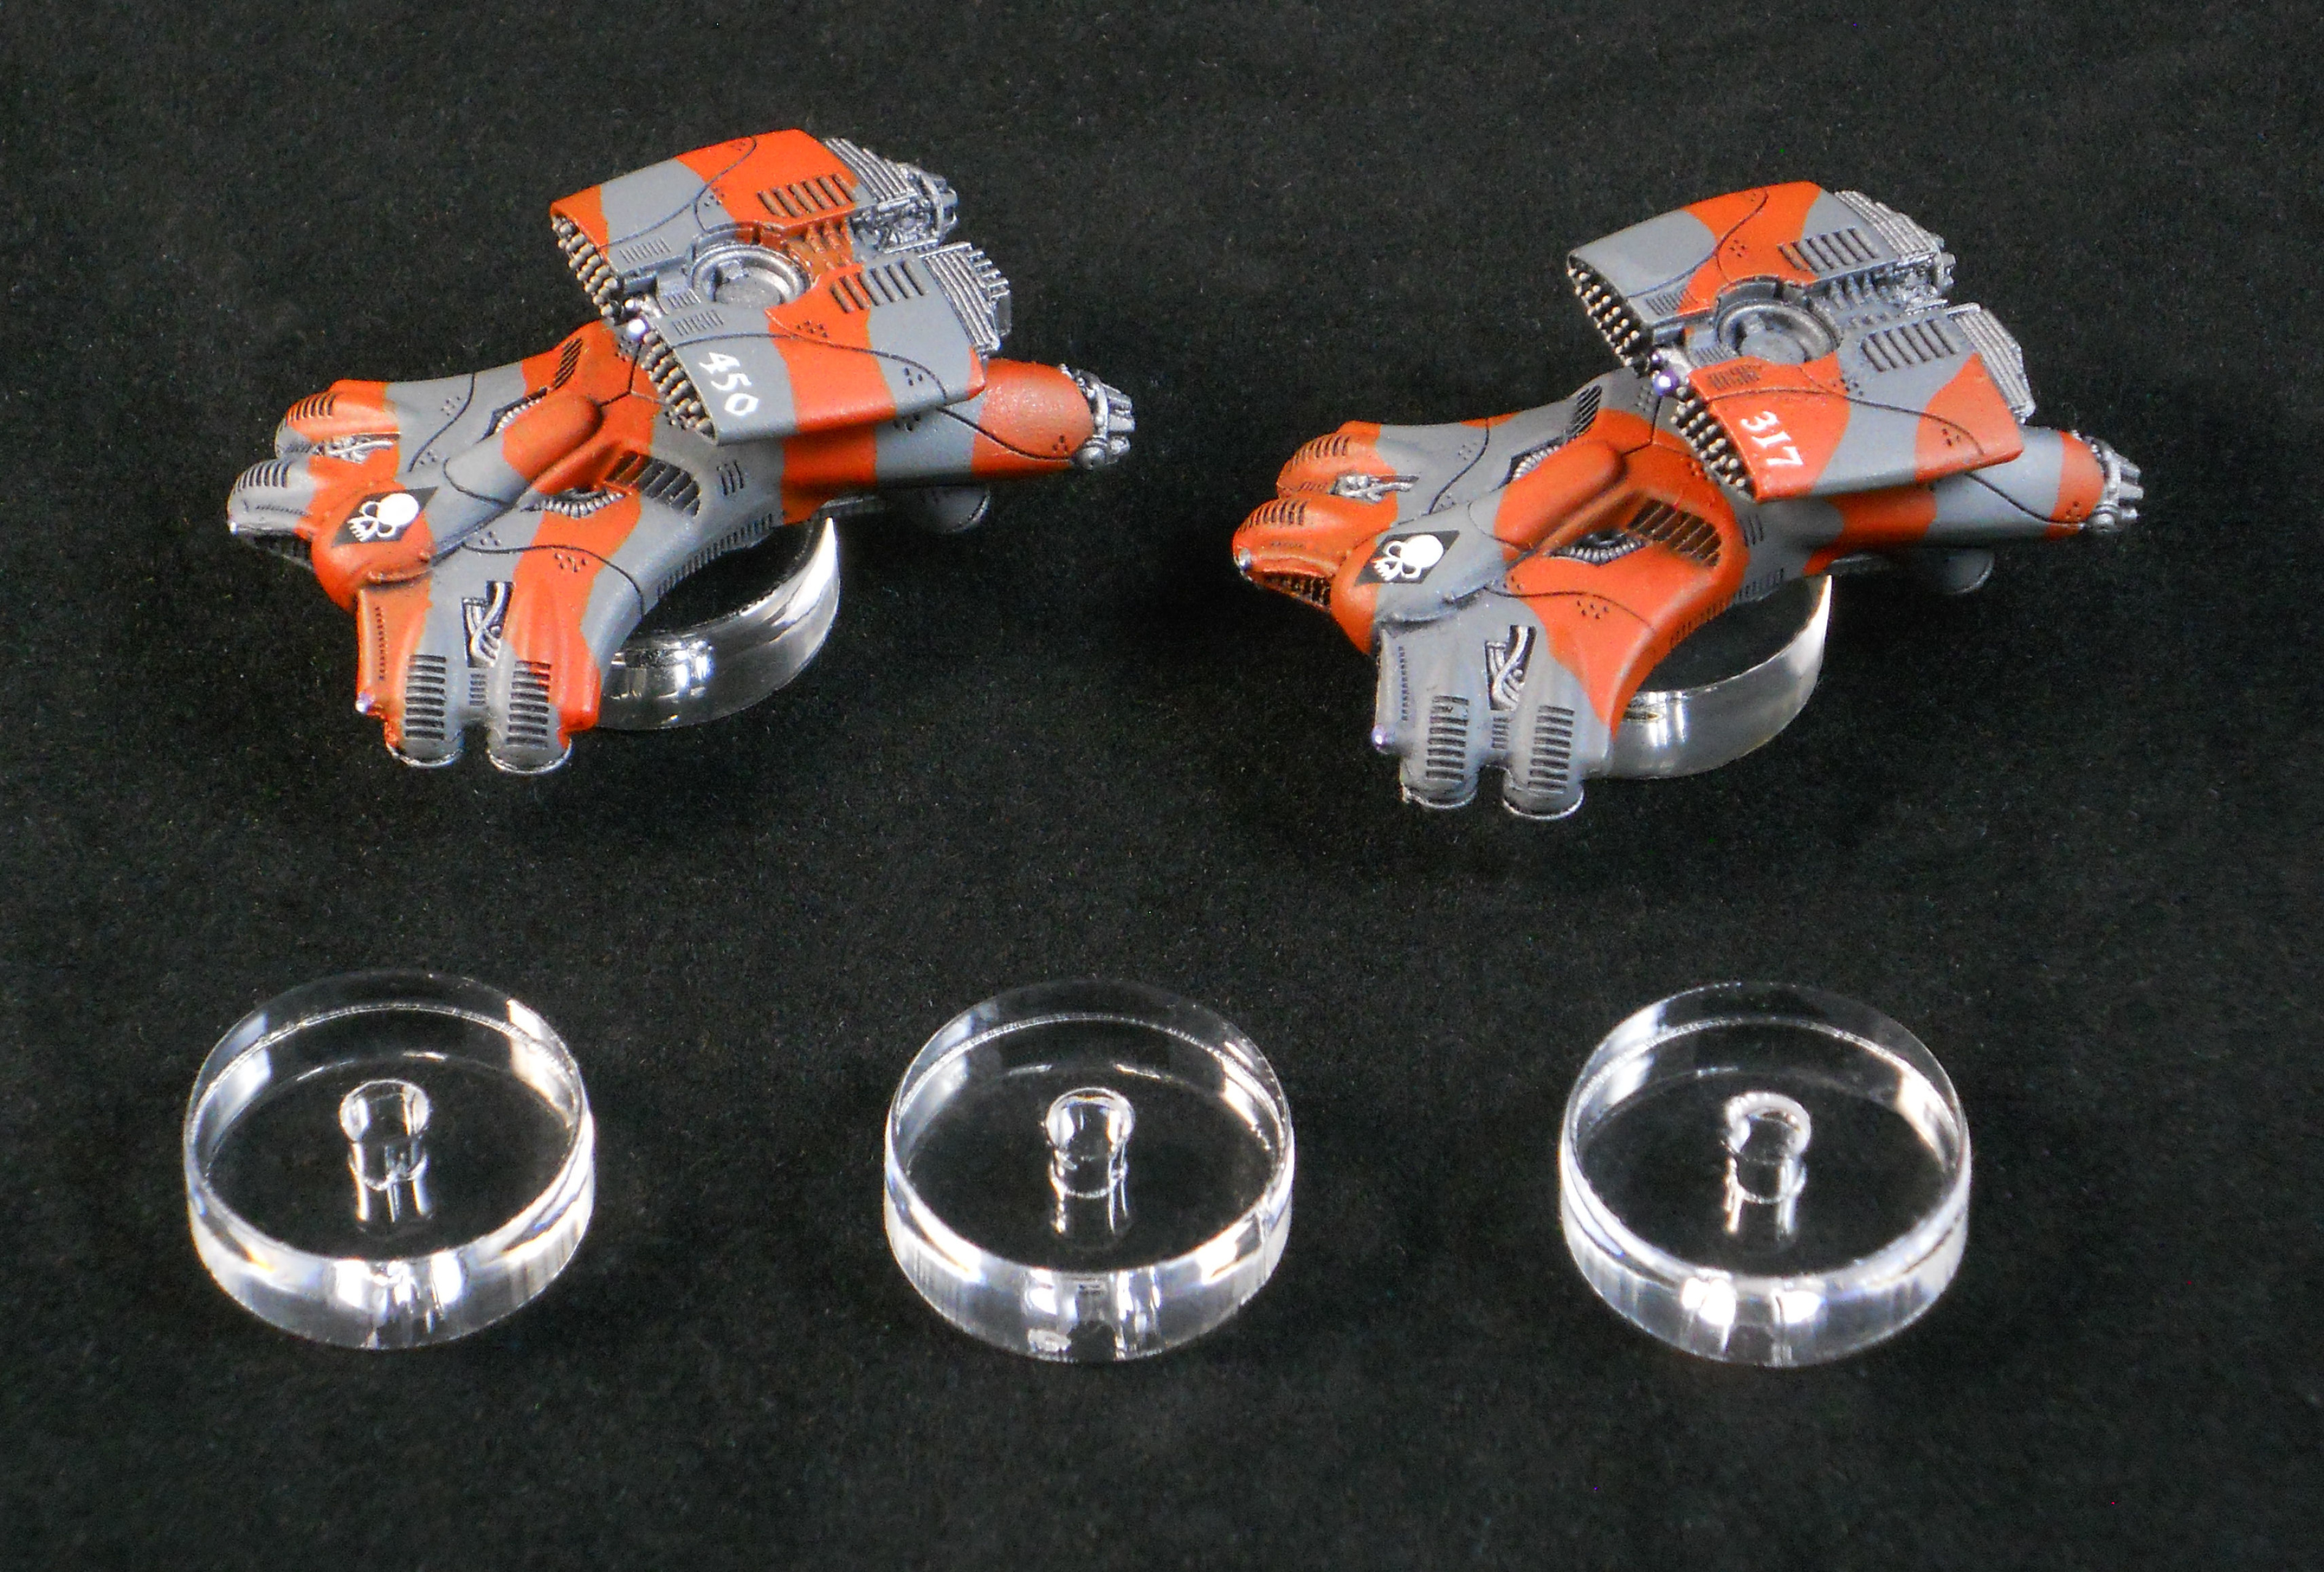
Need an easy way to base your skimmers? Try the GSI Skimmer Disks! Pre-cut for 1/8" magnets!


I'm really happy with these ladies and it was great to get some conversion time in. Thanks for reading!
.. or just scroll down to see photos of what I've been working on....
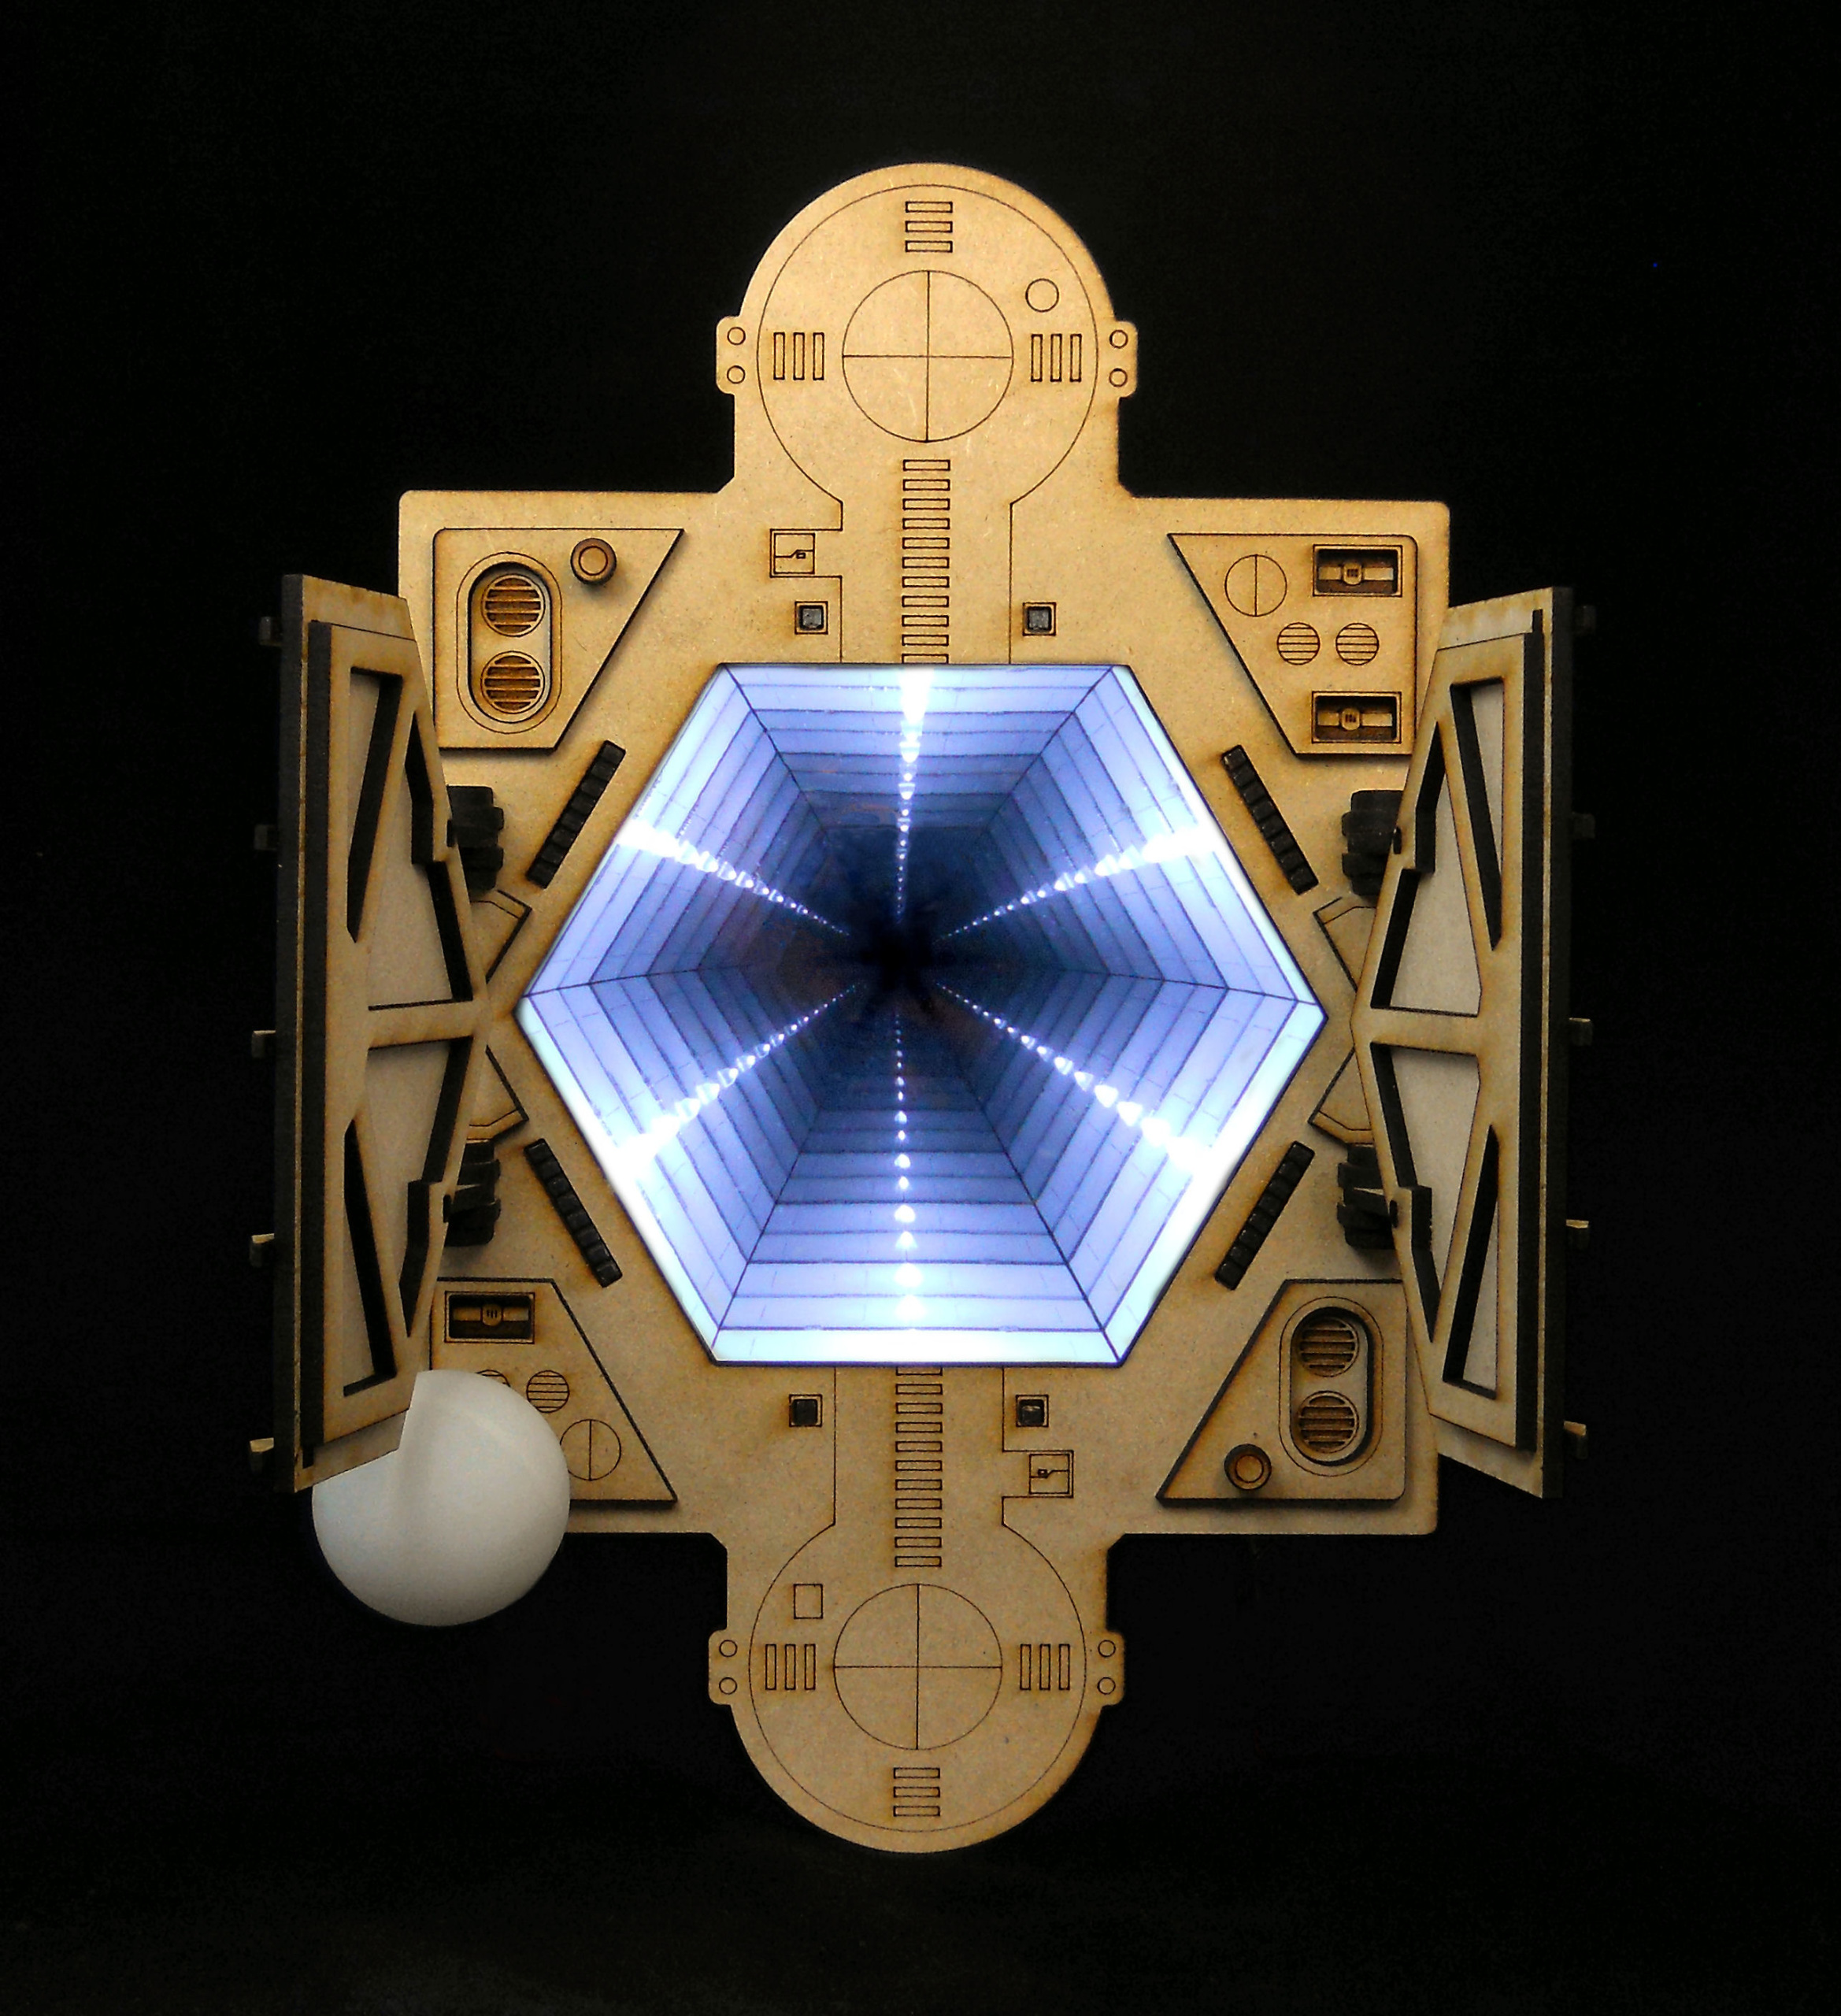
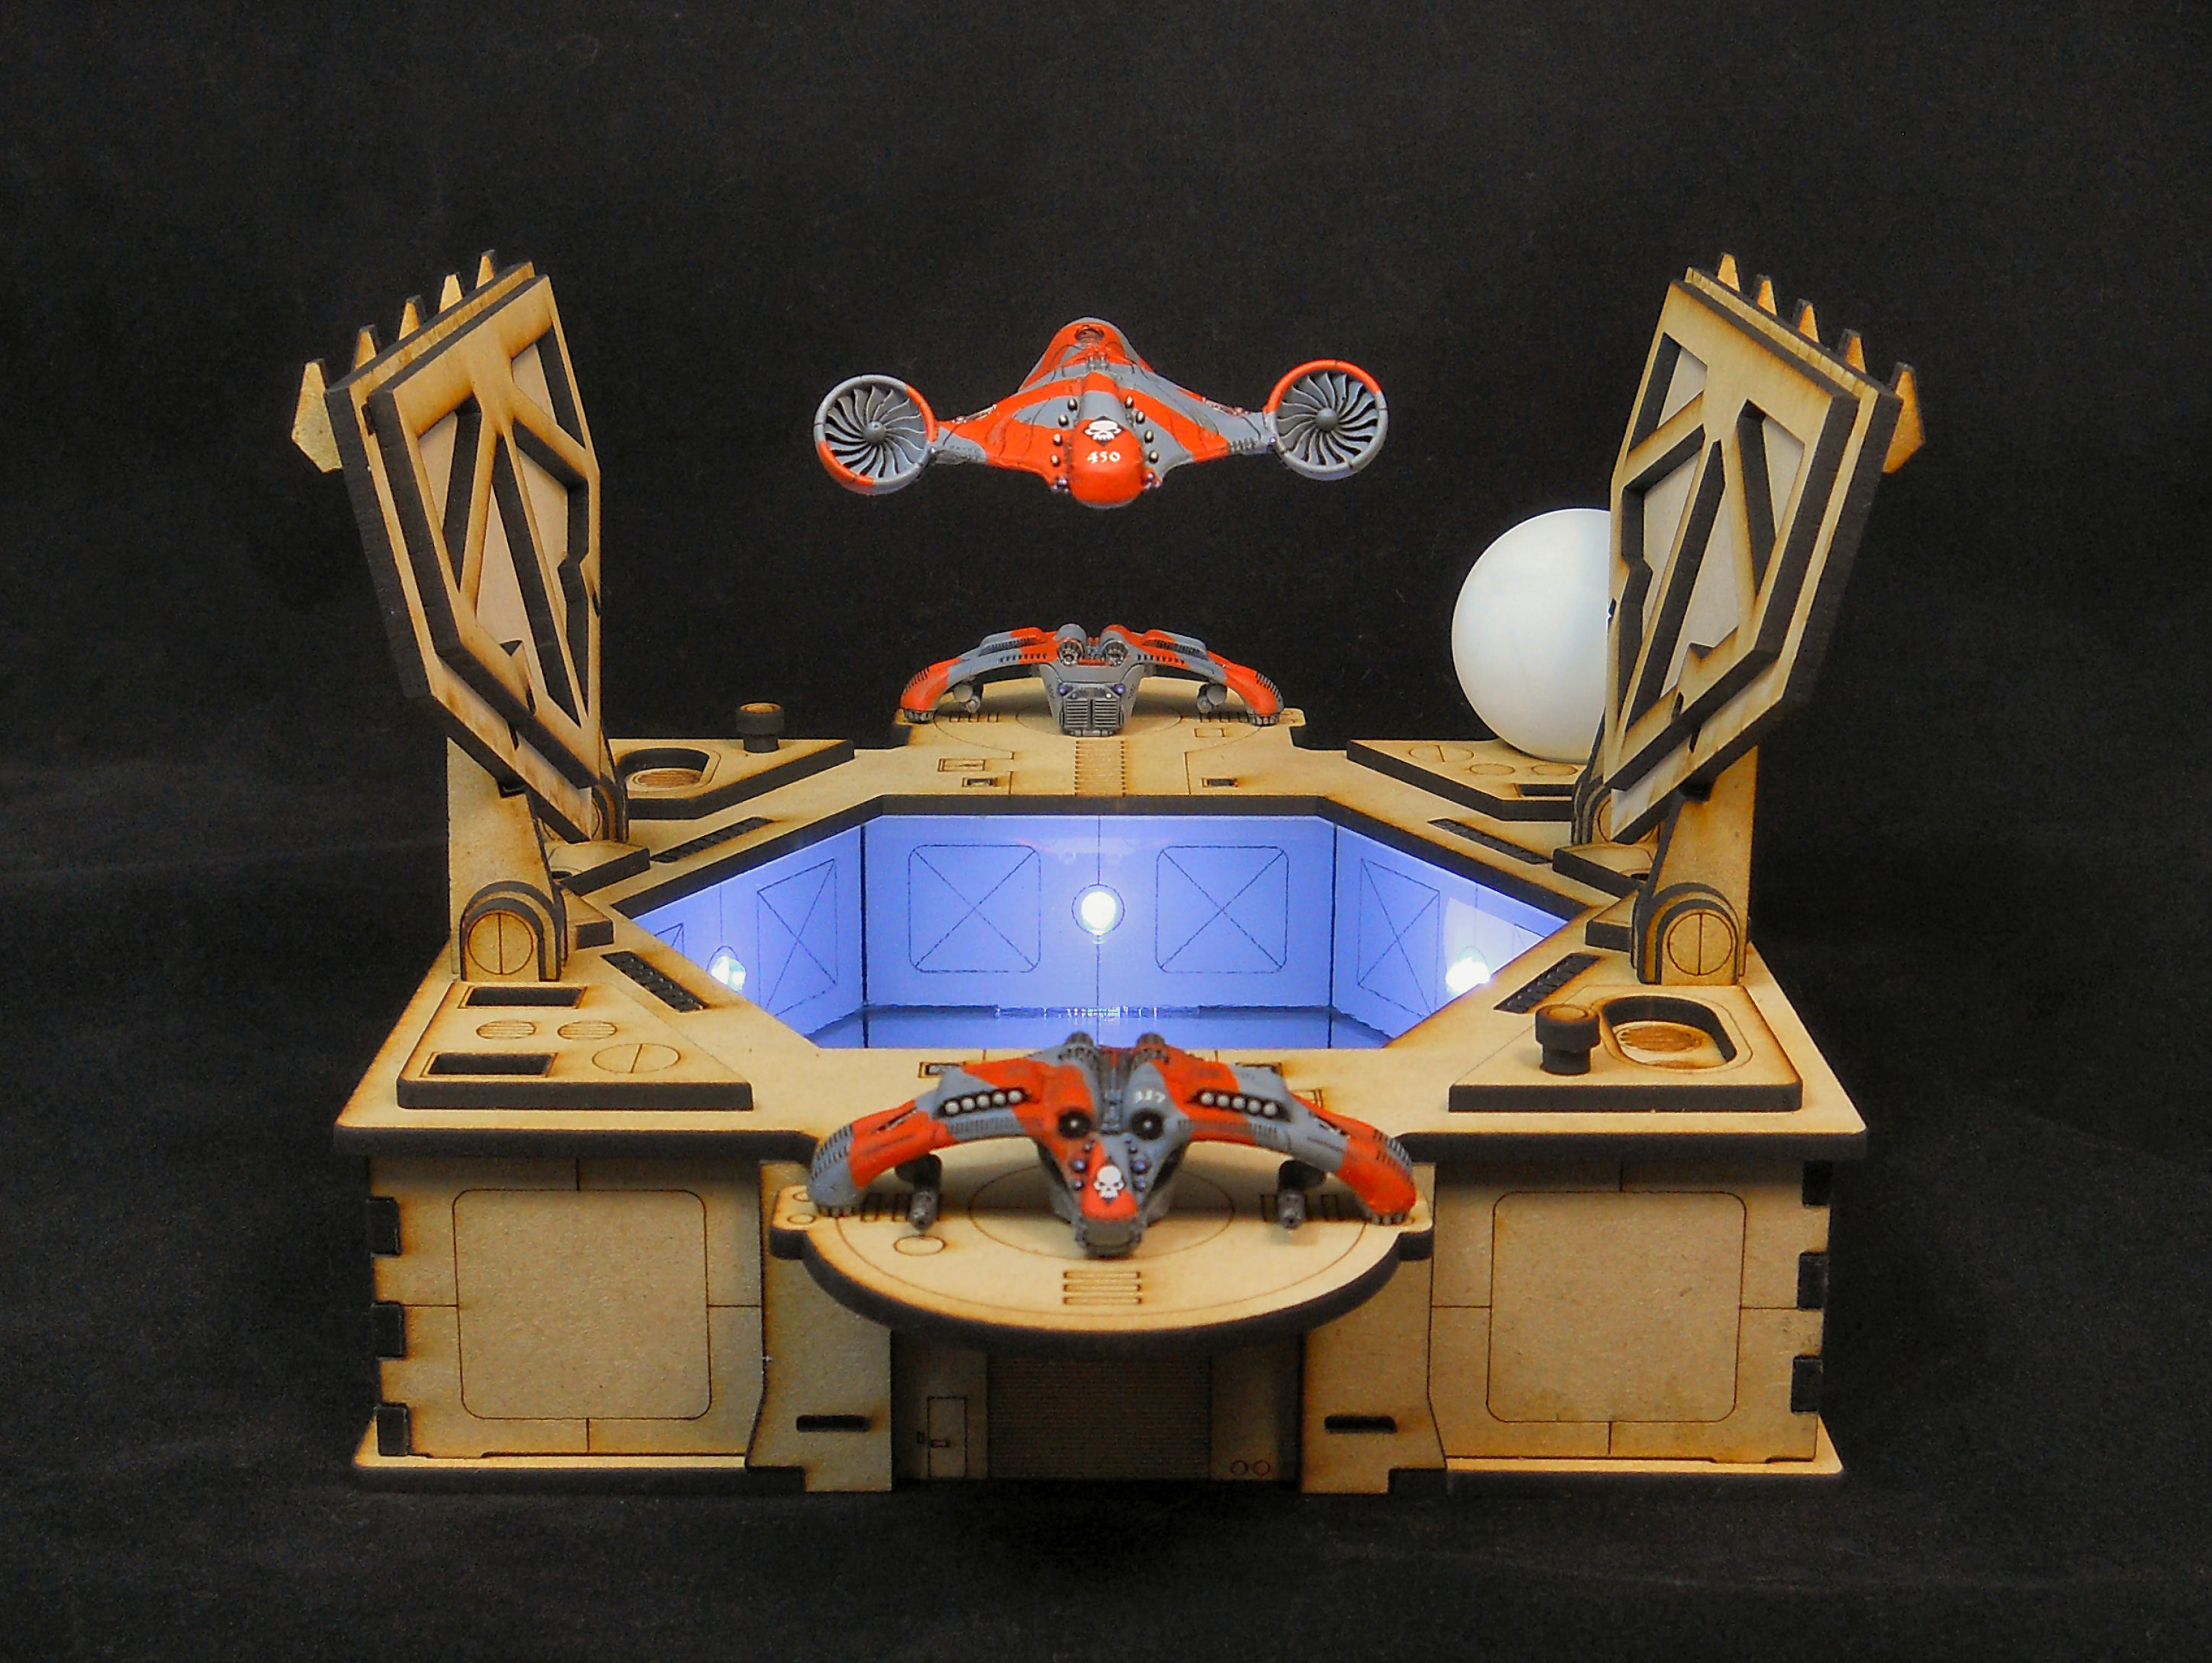
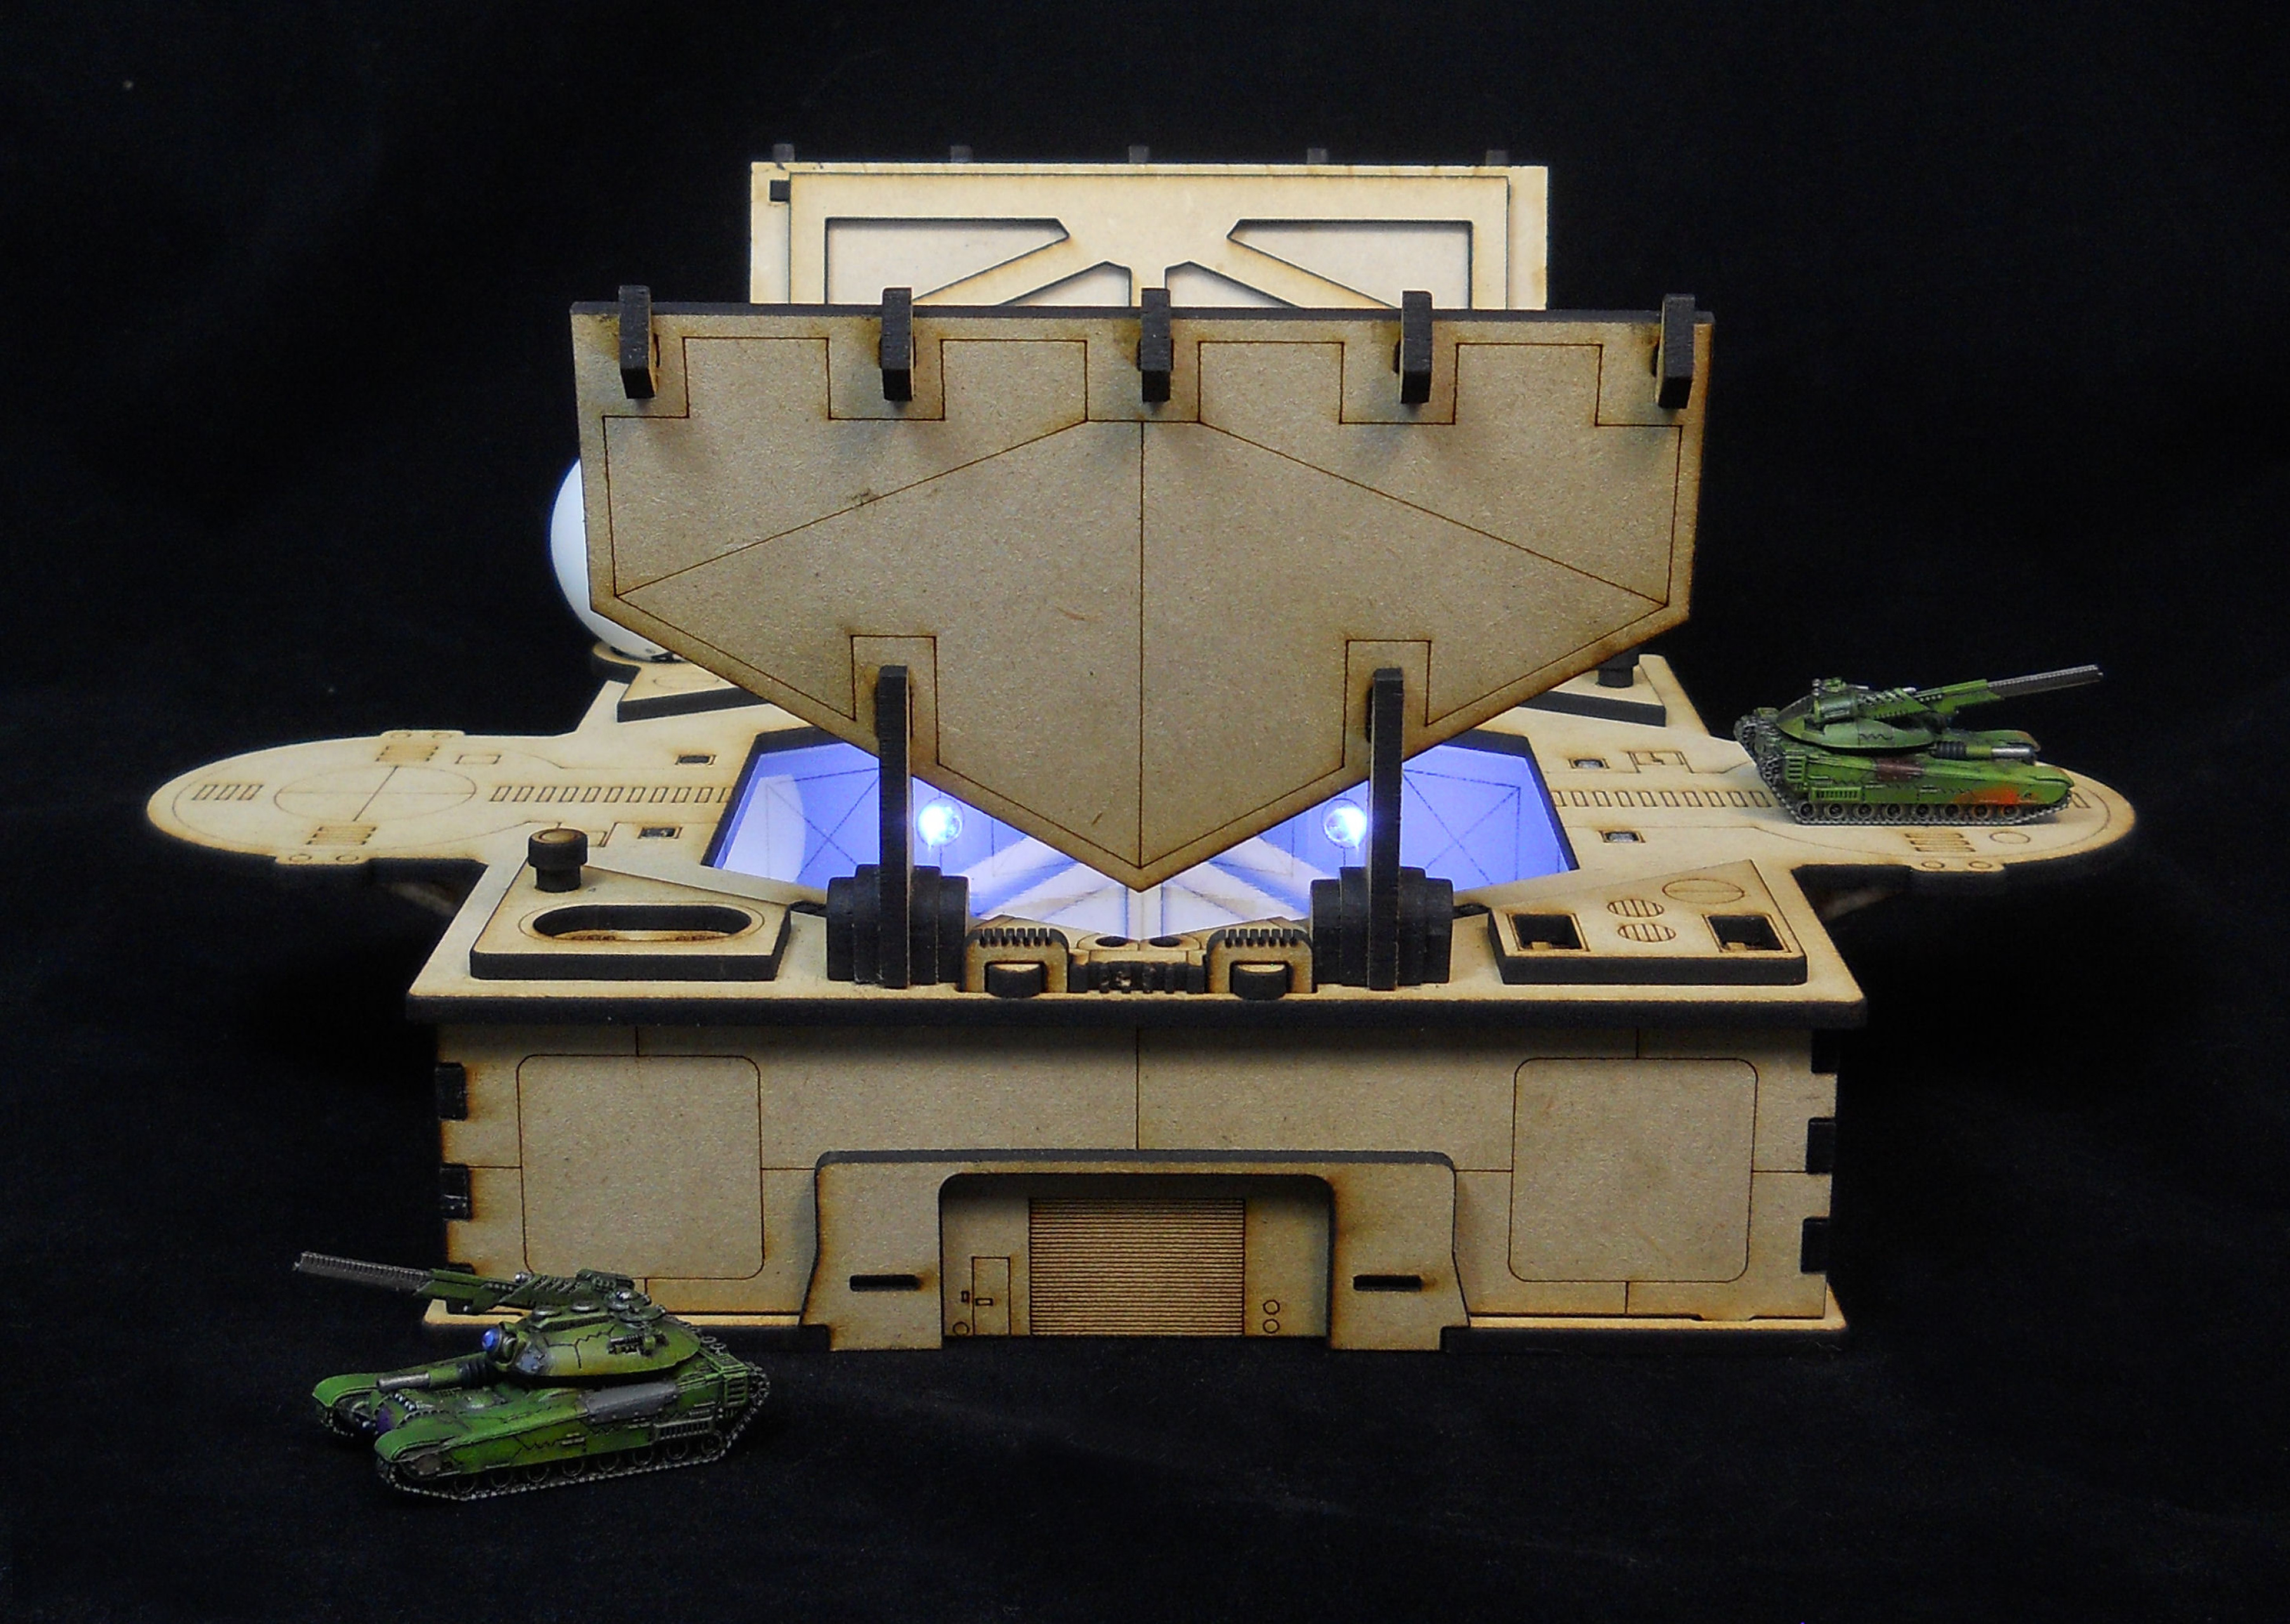
This is the new Underground Hangar in 10mm scale for Dropzone Commander!
Thanks to the Infinity Mirror Illusion it looks like this hangar shaft is 32 stories (16+ levels) deep!
There's extra landing pads, an optional sensor sphere, and many fine details!
The doors really work, too!
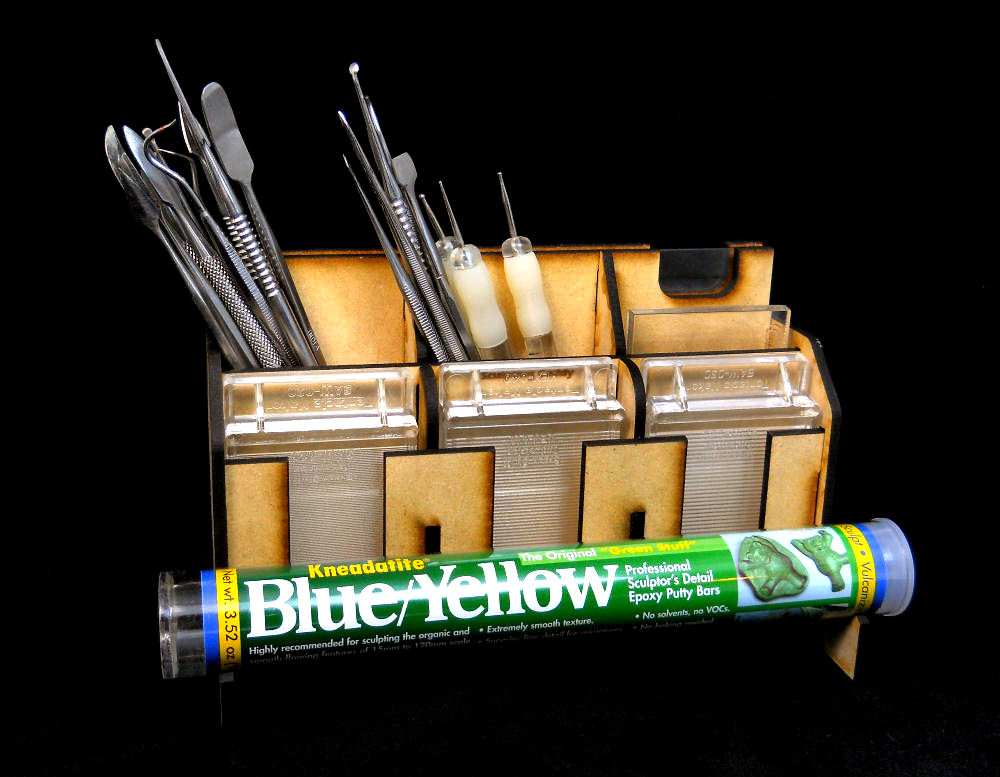
If your struggling with a good way to organize your sculpting tools, take a look at the GSI
Need an easy way to base your skimmers? Try the GSI Skimmer Disks! Pre-cut for 1/8" magnets!
These Compressed Gas Tanks (2-sphere and 1-sphere) provide excellent LOS-blocking scatter terrain in a compact size!
Finally, we have a Dropzone Commander OMNI-Template! It stands just over 6" tall, has sight holes for 1, 2, and 6", LZ templates with arc markings and are also slotted for flight bases, and can be easily magnetize so you can avoid knocking buildings with your Godzilla-like hands!
I've had a tremendous amount of fun creating these products, so I hope you like them!
Thanks for checking out my post!
Very cool work, those bases look fantastic!
ReplyDeleteThanks, Mordian! They were really fun to put together.
Delete