
by Novus
The Dropzone Commander resin models are freaking amazing! But, occasionally you get one or two models with a bubble on a section of model that is pointed or peaked. Here's how I fix this issue quickly and easily.

This is what you'll need...
- A scrap bit of resin (above)
- A sharp hobby knife
- A tube of Super Glue
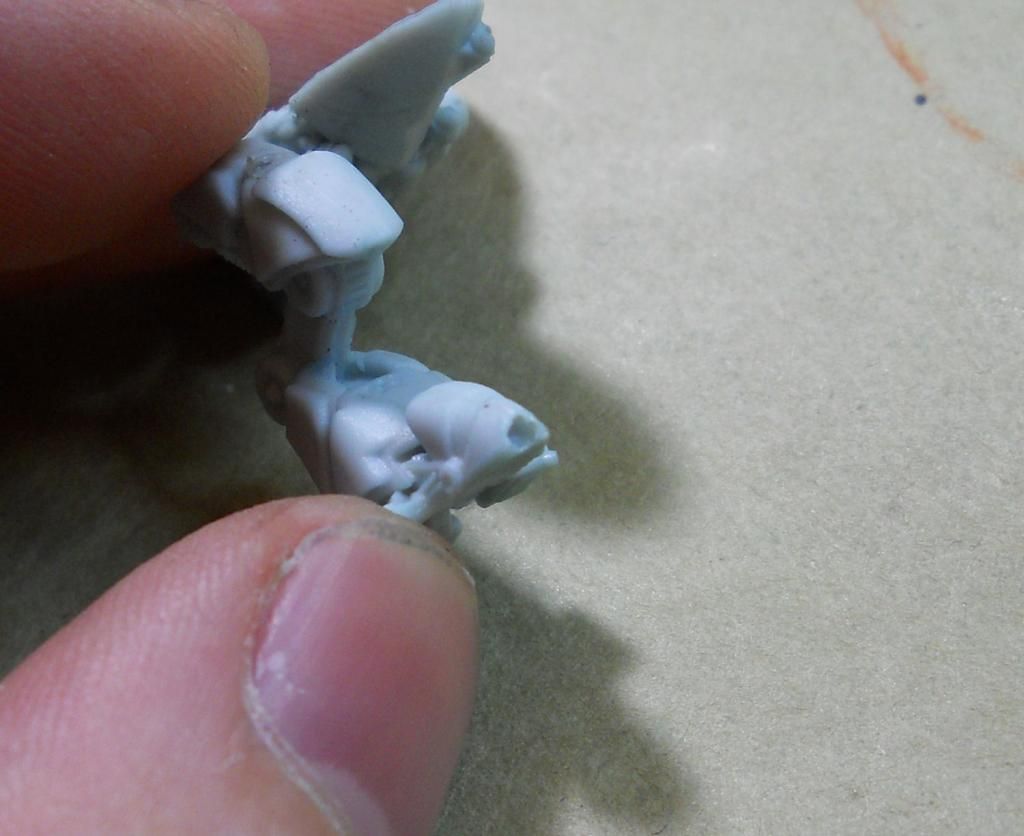
Shave a flat spot across the bubbled section. Cut it as flat as possible with a fair amount of surface area for the bond. I try not to leave much bubble at all... like twice as much resin to bond on than there is bubble left in the model.
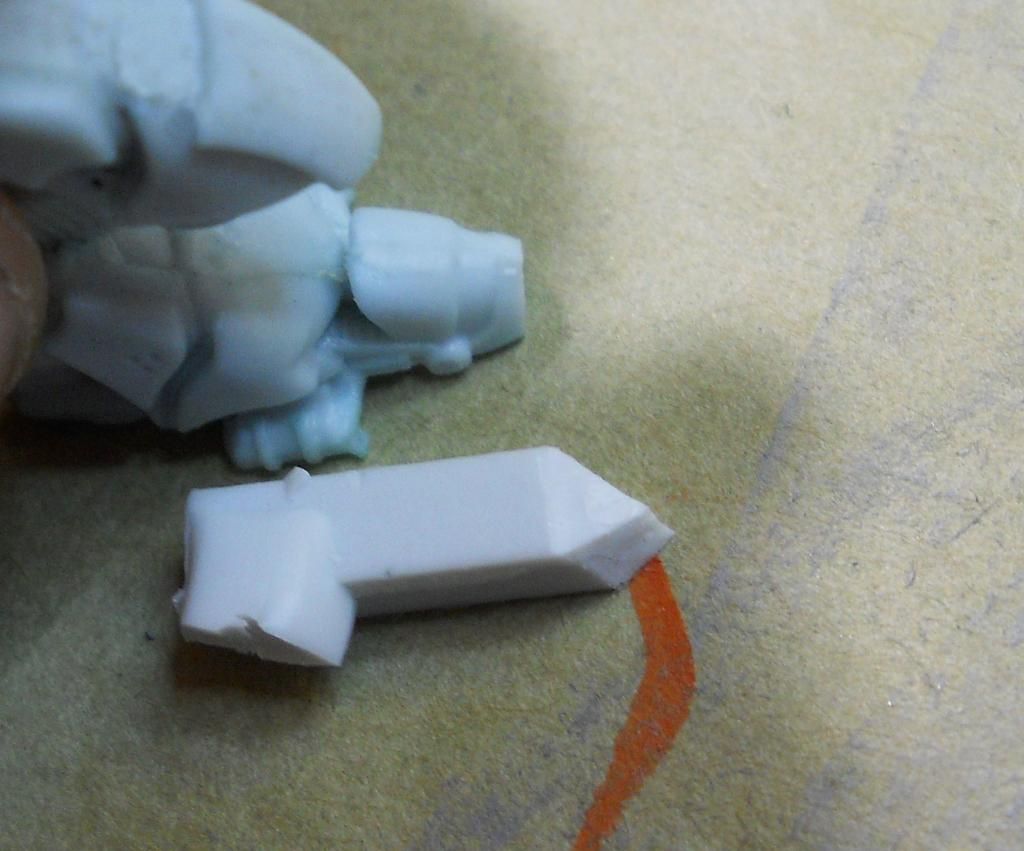
Then shape your scrap into a rough approximation of the bit you are trying to replace. In this case, the toe section of a PHR Zeus walker. Make it a touch larger than needed as you'll shave it down to size later.
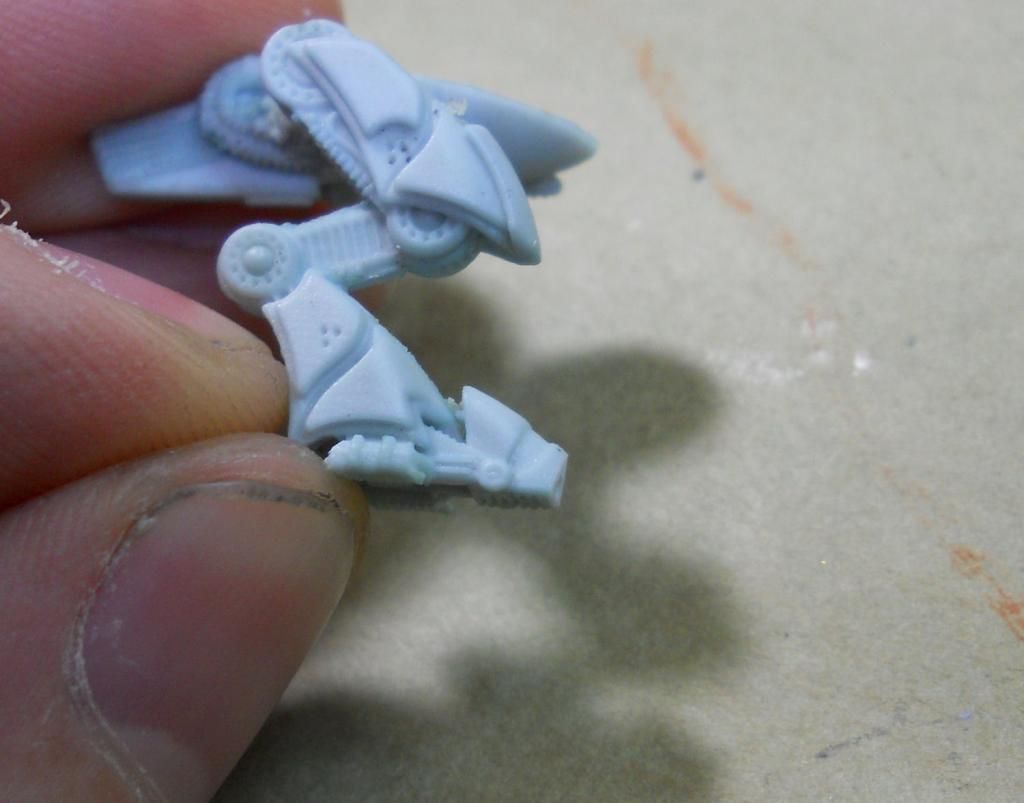
Glue the scrap piece on to the flat spot then file/shave/scrape it down to the necessary dimensions. What you see below was accomplished by carefully planing off the largest sections of material with my hobby knife and then gently scraping what was left behind into the shape I needed.
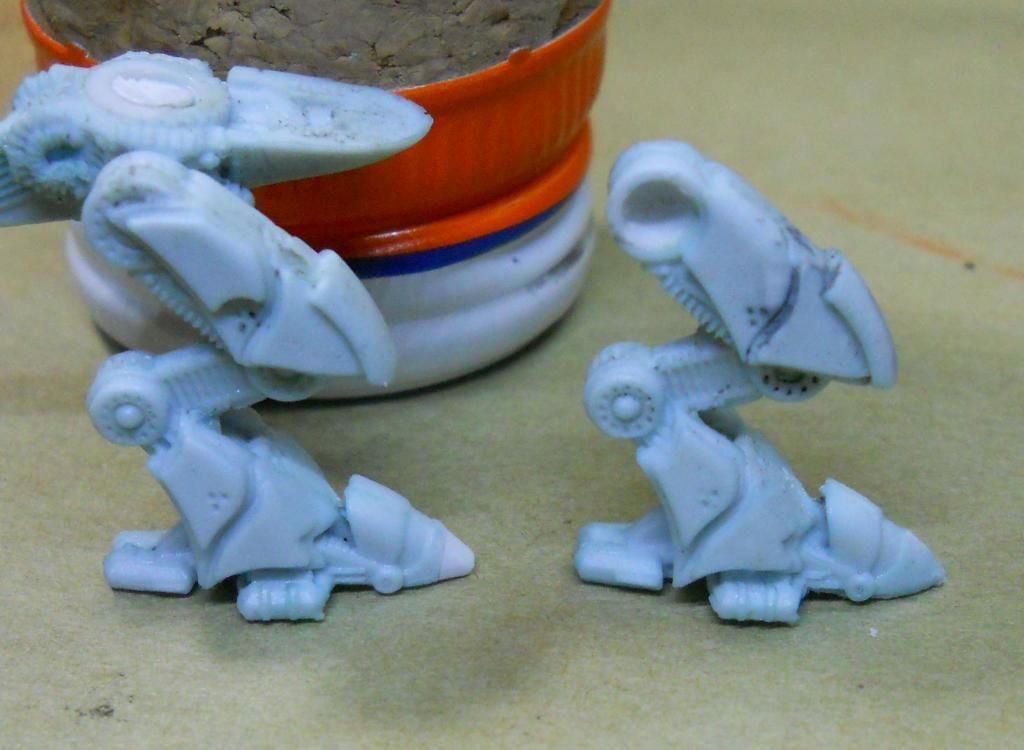
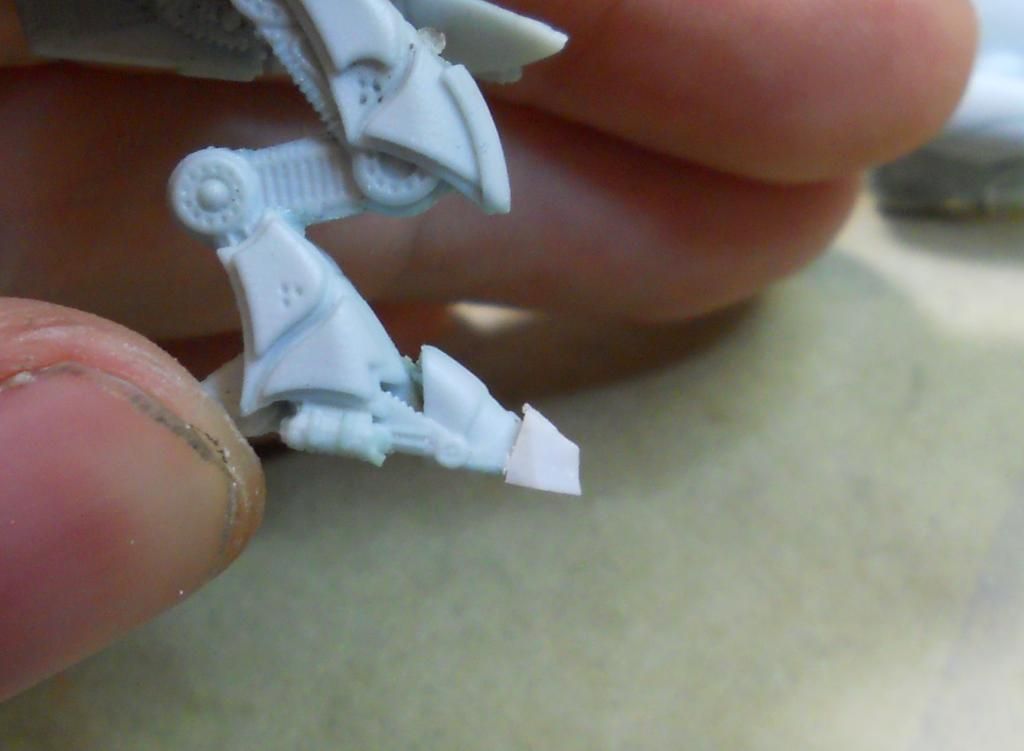
The leg on the left is the one with the repaired toe (note the color difference between the lighter fresh resin of the scrap and the darker stripped resin of the Zeus) . You can see that when all is said and done, you end up with a very close match to the original design (right)... and no more bubble!
<<< >>>
Nice! This is a way different tutorial then I thought at first. You actually gave tips for fixing a major section that was damaged, and not just a tiny bubble (that most people just fill with green stuff or glue).
ReplyDeleteFixing those toes and pointed sections is a pain with GS. And it takes a very long time to get it right. This way is quick and easy! Thanks, Greg!
Delete