
By Jordan of There Is Only War
Greetings, all. Jordan here from There is Only War. Last time we took a look at how to take great photos using Point-n-Shoot and DSLR cameras. This time we'll be learning how to put the finishing touches on your miniature photographs.
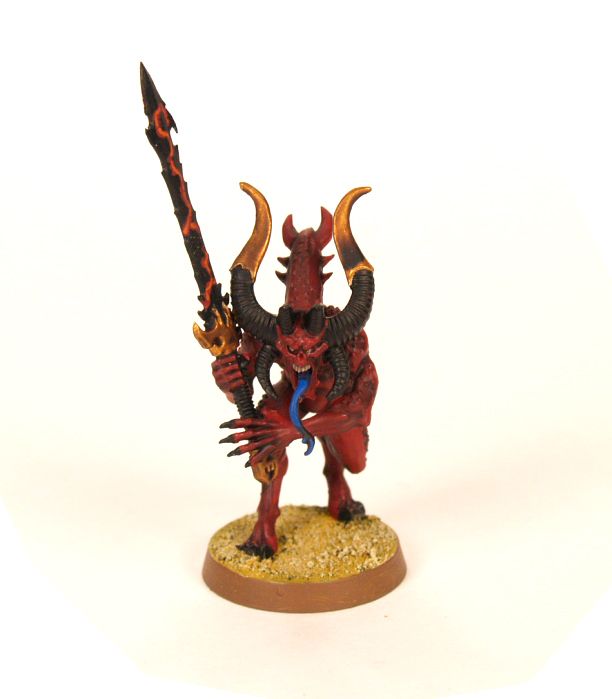
You'll need an image editing program like Photoshop or GIMP and photos of your miniatures (for best results refer to the earlier photography guides). Go ahead and open up your image editing program and the photo you want to format for viewing online.
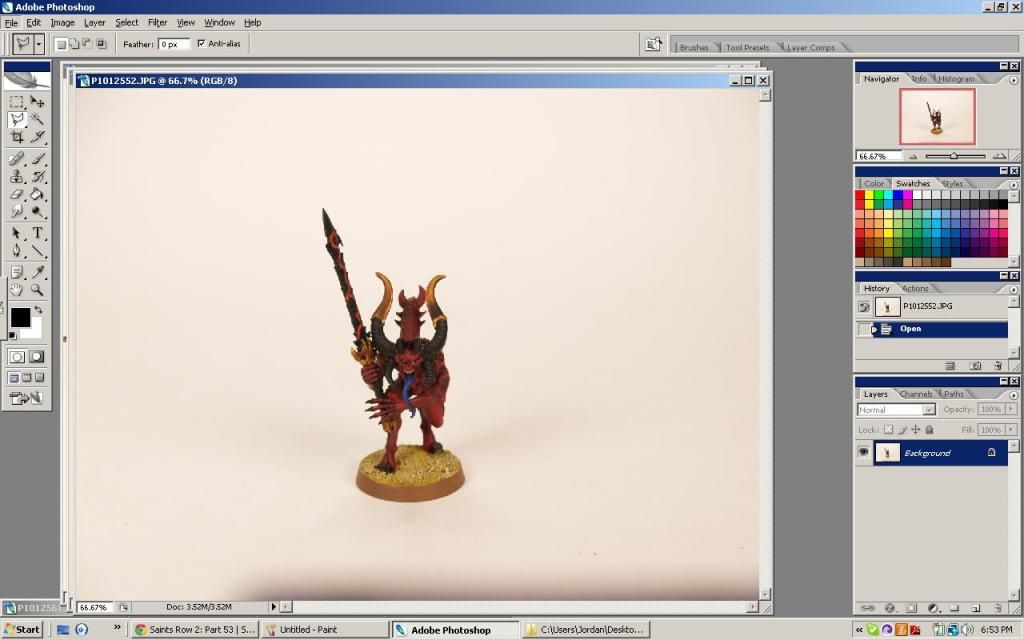
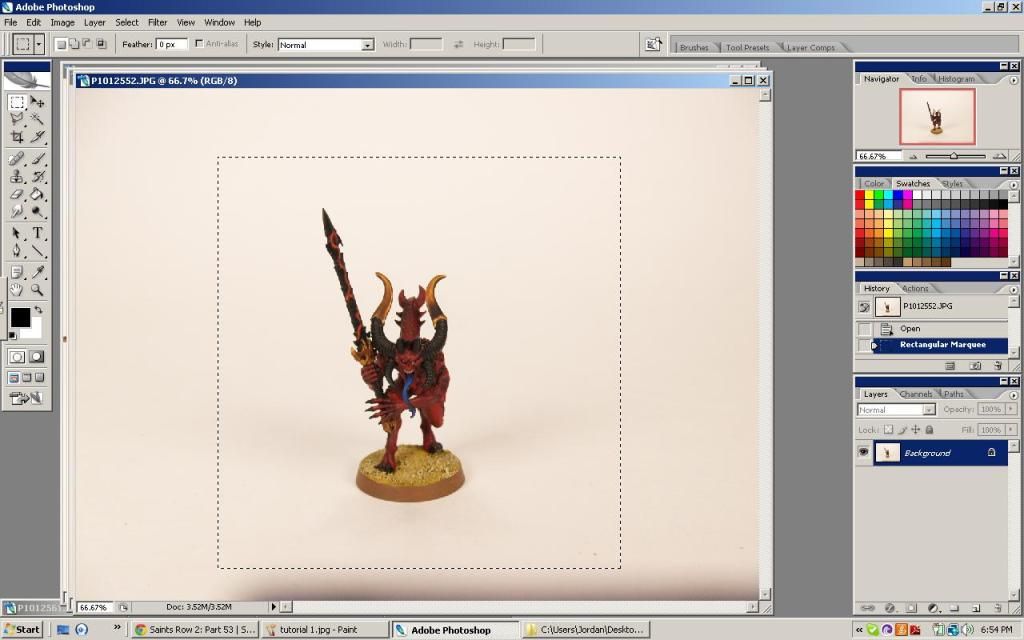
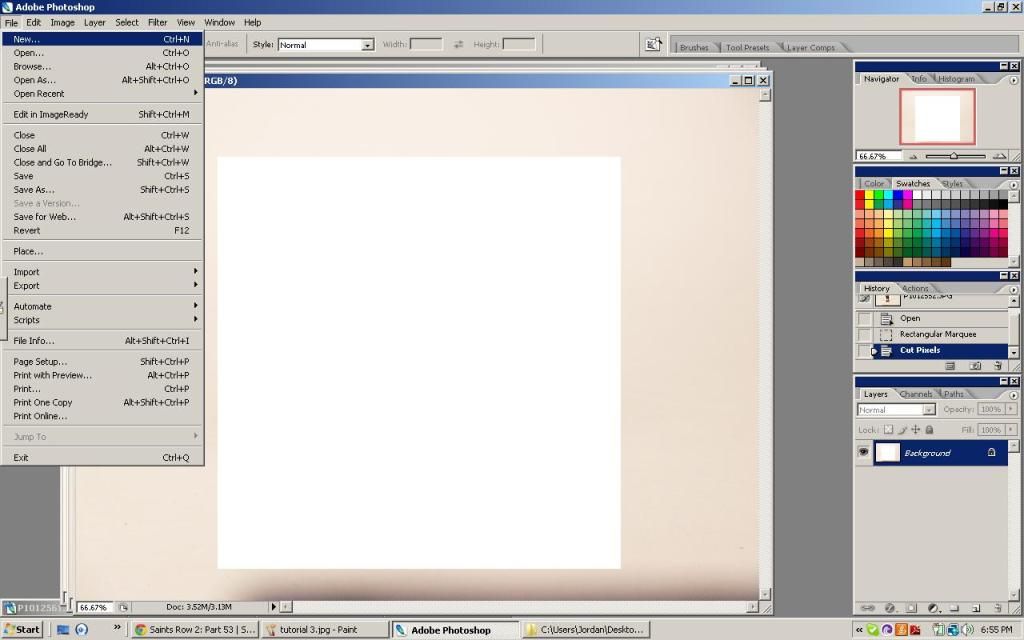
Next thing to do is format the size of your image. Notice all the unused space around the miniature. Click on the "Rectangular Marquee Tool (M)," otherwise known as the "box select" tool and create a box around your miniature so that the miniature fills a good portion of the box. Go with whatever looks good. This selection will be your resized image. Essentially, you're just quickly cutting out the unused space.
Now that you have an area selected, cut the selection from the image (Ctrl+X) and close the edited original if you like.
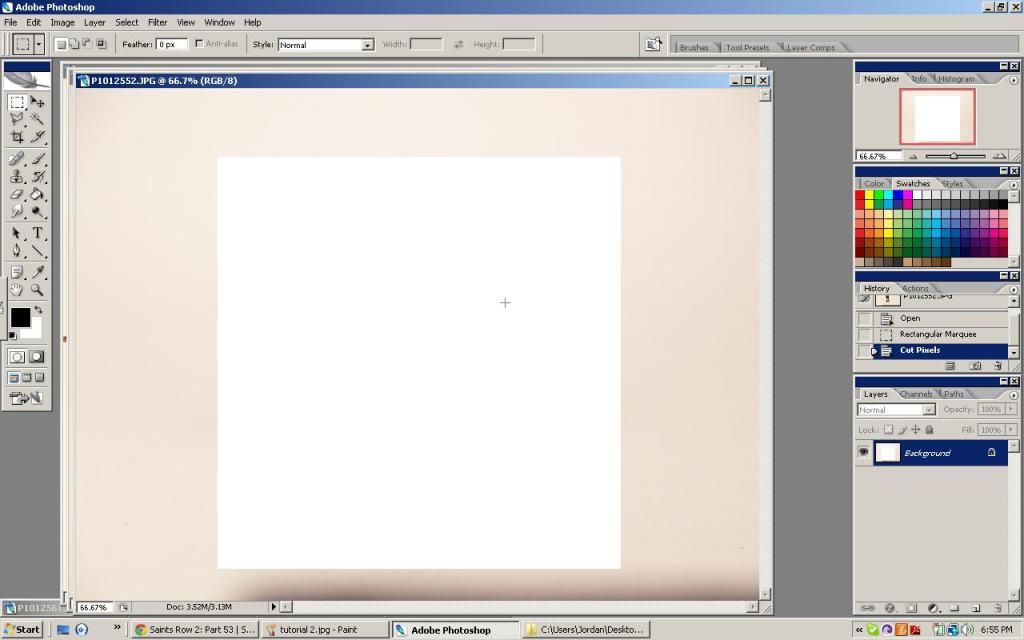
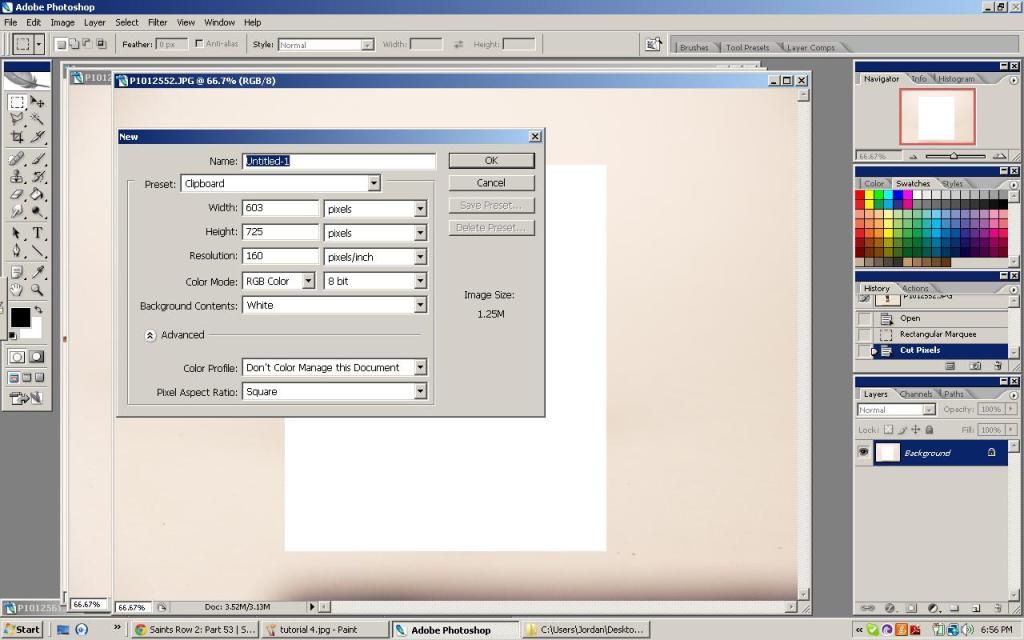
Click "File" in the toolbar and select "New..."
In the New file window, you'll see a bunch of information. For our purposes, none of it is really important. The new file will be the exact size of the clip you just added to your clipboard by hitting Ctrl+X or selecting "Cut."
I like to make sure my images are at least 500px wide. I find this width works best with my blog's layout. If you want to use a larger image but doing so would clash with your layout, you can always downsize the image using HTML tags and making the image link to the larger version in a new tab or image viewer widget.
For me, naming the new image doesn't matter. I save the completed image as an overwrite of the original image taken off my camera.
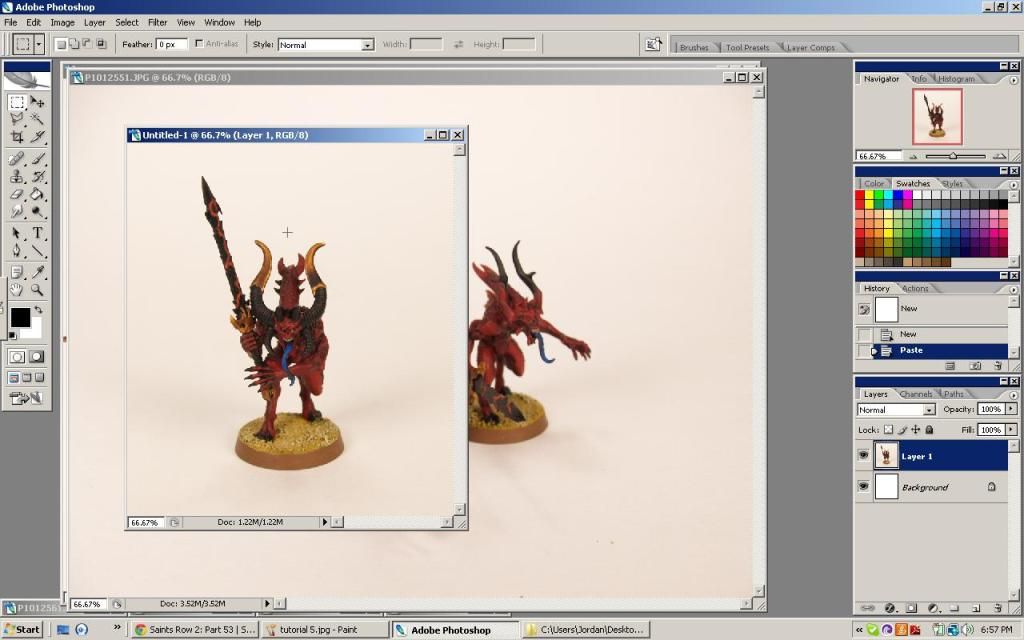
Once you have your new file, hit Ctrl+V or right-click and click "Paste." Your new image should paste if you didn't copy or cut anything between steps.
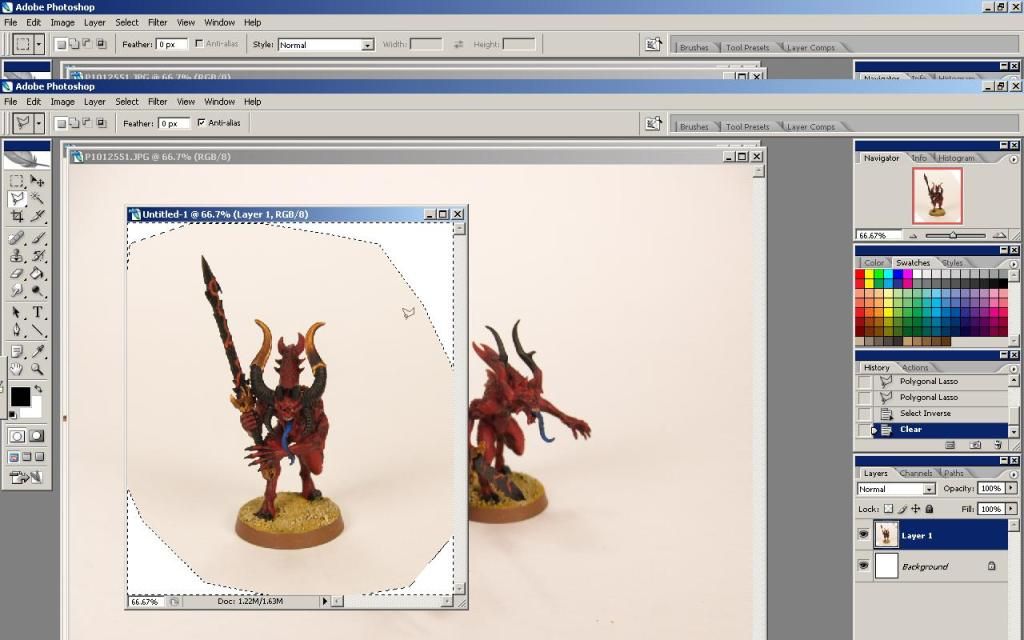
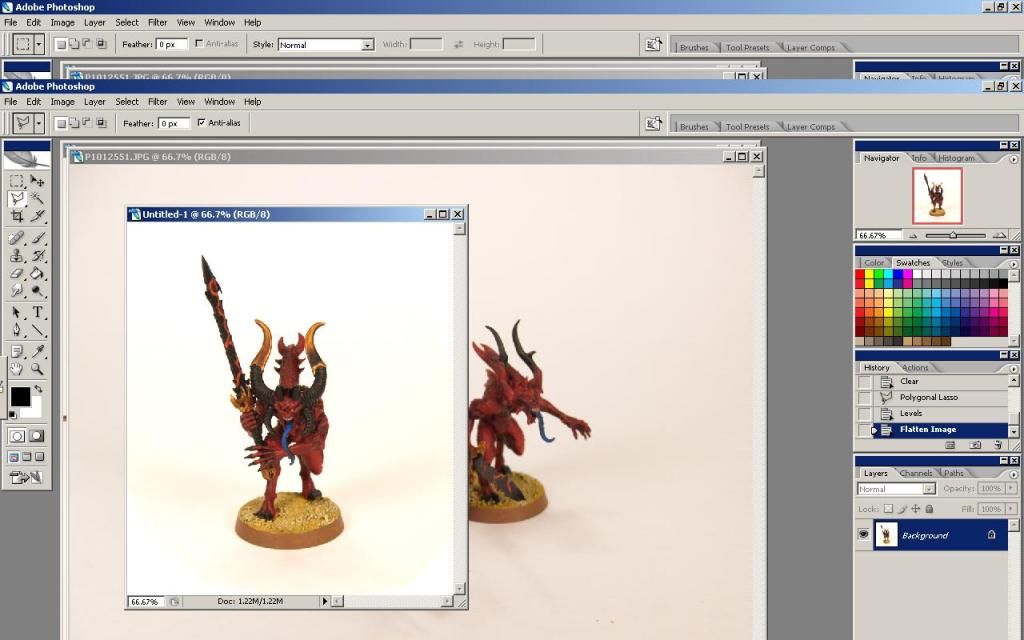
Here's where things get interesting. Now that you have your resized image, click the Polygonal Lasso Tool and select an area just inside the boarders of the image looking something like the image you see below. Once you get close to the end, you can double-click. This will close the selection loop.

Now right-click and click "Select Inverse."
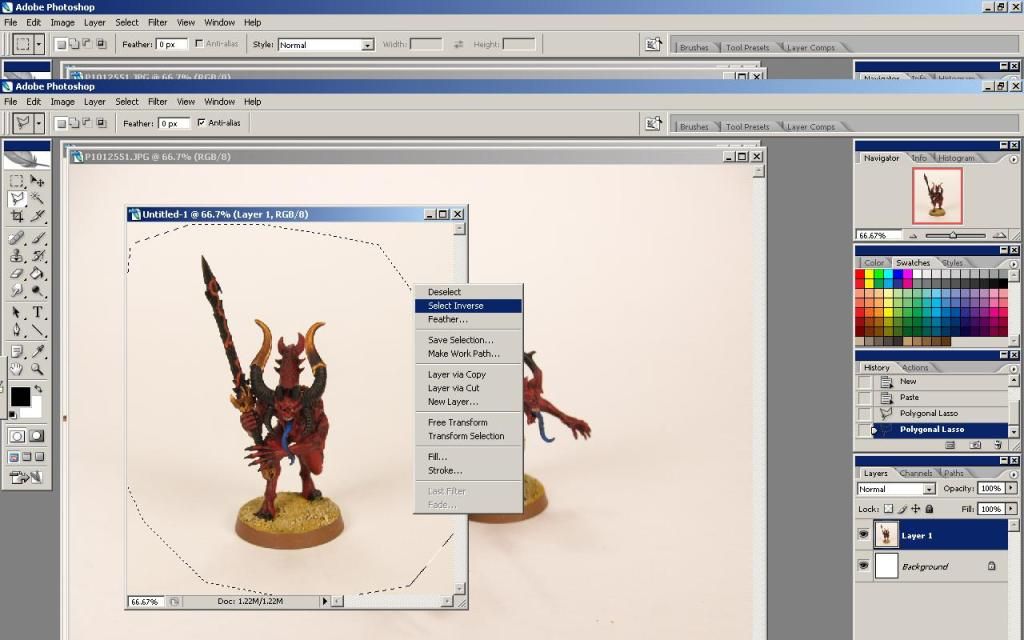
This will select the areas around the edges of the image. Now that the edges are selected, press the delete key. This will delete the selected area and expose the white layer beneath.
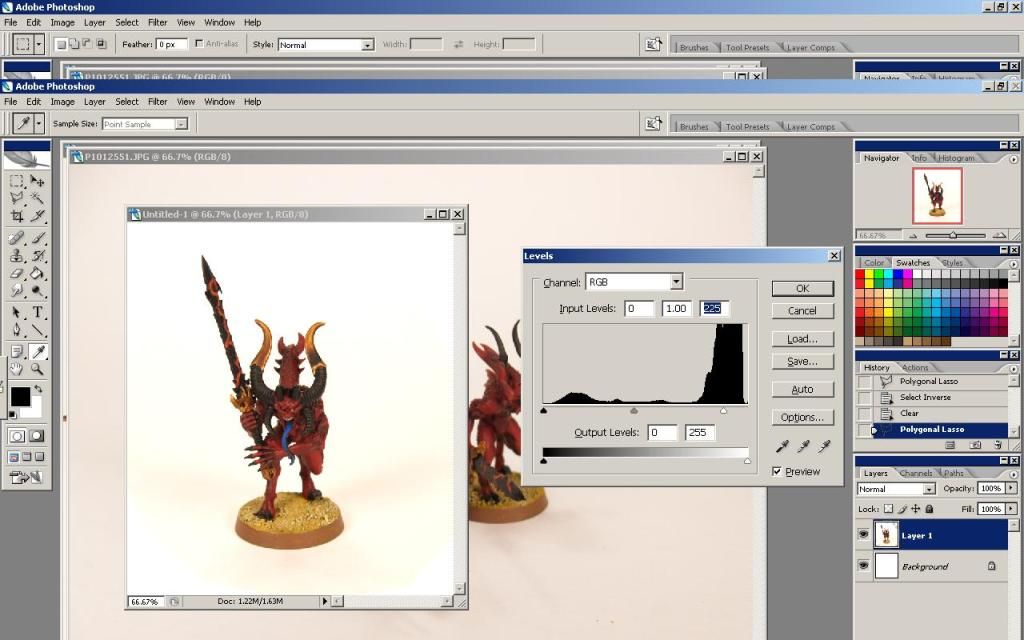
The reason we deleted this area was to up the amount of "light" in the image by making a few big white splotches in it. Now press Ctrl+L or, in the tool bar, select Image > Adjustments > Levels. This will bring up the Levels menu which we will use to brighten up the image and eliminate the off-white background in the resized image.
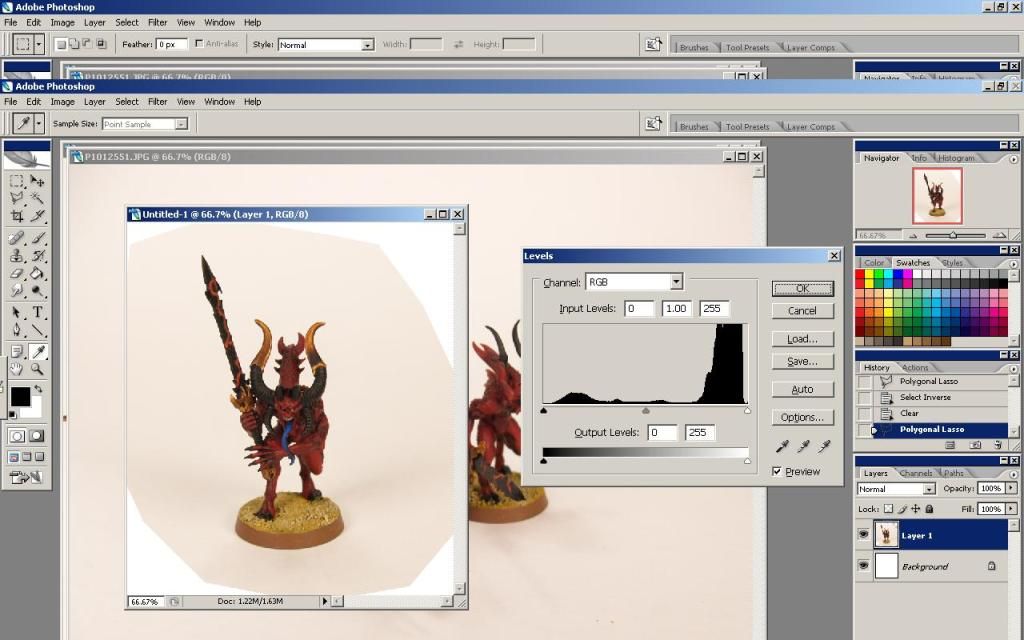
Click and hold the white triangle at the bottom-right of the waveform and move it slowly left until the off-white background behind the model blends into the white spots at the edges, creating a smooth, crisp white background.
If you can't quite get it right, you may need to retake the photograph with more light on the model or a slightly slower shutter speed if your camera has that option.
In order to save your image as a web-enabled format like .JPG, .GIF, or .BMP, you'll have to flatten the layers of the image. Go to Layer > Flatten Image in the tool bar or press Ctrl+E which will merge your layers.
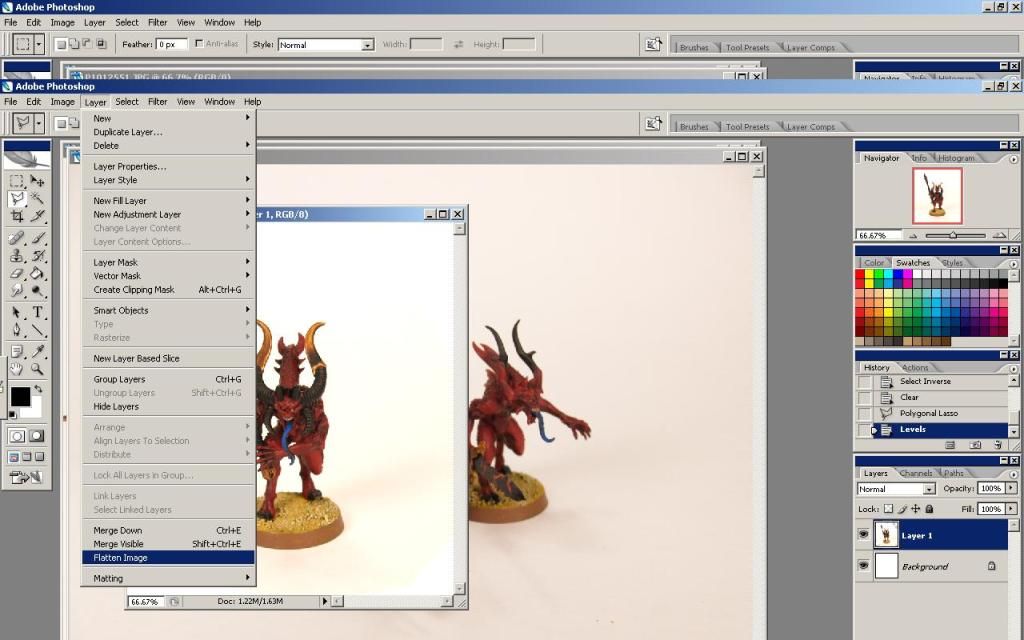
You now have a flattened image that can be saved as common file type you like.
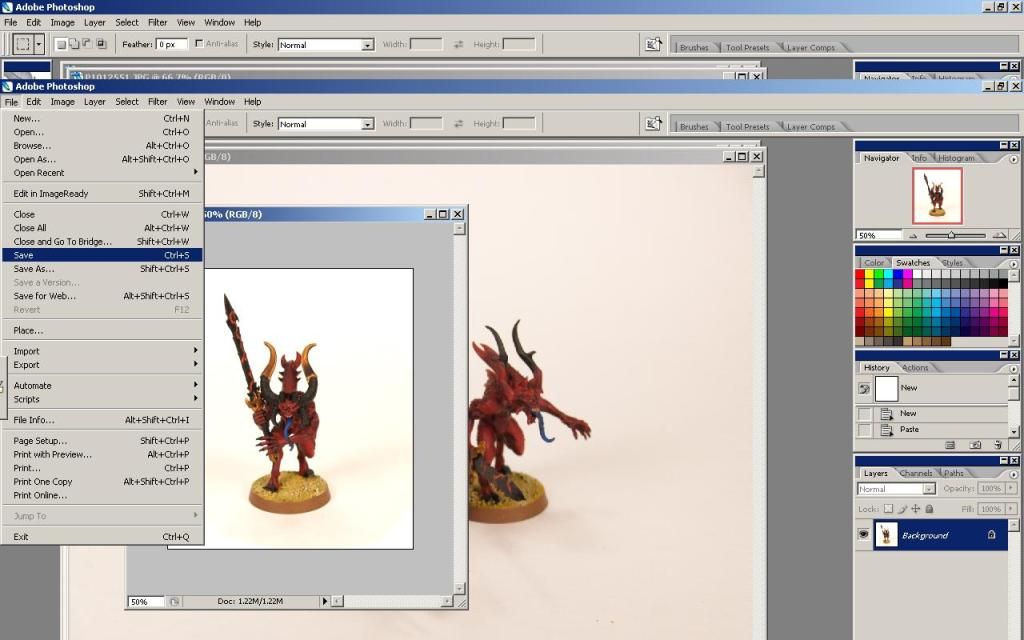
All that's left to do is save!
Take a look at the image below. The one on the right is the resized, but otherwise unedited image taken from my camera. The one on the left is our edited photo ready for display. It's easy to tell which one looks better, is brighter and shows off more detail.
I hope you GSI readers have enjoyed this miniature photography series and have been able to take something useful from it. As always, best wishes and enjoy your games.
Nice article! Correcting the color levels in Gimp is my favorite tactic to make my pictures better.
ReplyDeleteYeah, Jordan is pretty damned good with the photography. I use an old version fo Paint Shop Pro... v9, I think. I'll have to try the select-invert-and-brighten trick.
Deletevery useful... currently taking photos with an ipod touch... this and the other two articles should help loads! many thanks!
ReplyDeleteYou are welcome, Jessica! Please feel free to let Jordan and I know how those pics come out.
DeleteIf you are looking for something easy to use and simple for converting your images formats then use the imverter.com for free and online application.
ReplyDeleteThanks for the tip, Dianereilly!
Delete