
by Novus
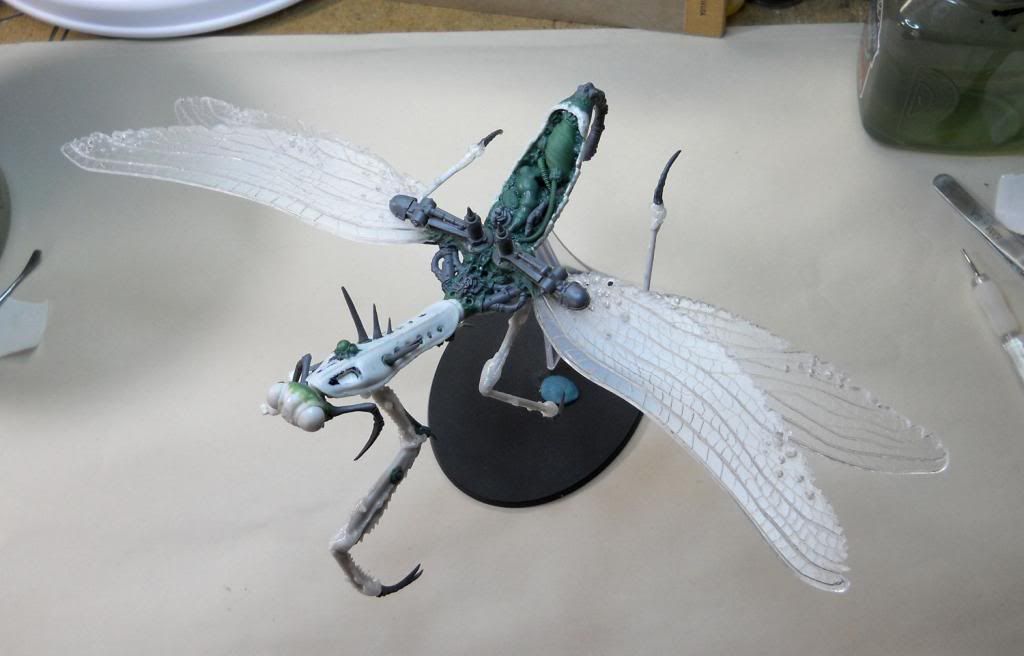
You can see my latest WIP above, a flying Mantis companion for my previous Helbug kitbash. In putting this conversion together, I figured out a way to make very smooth sheets of Green Stuff (GS). That's what is covering that stomach-looking thing with the bulges you see below.
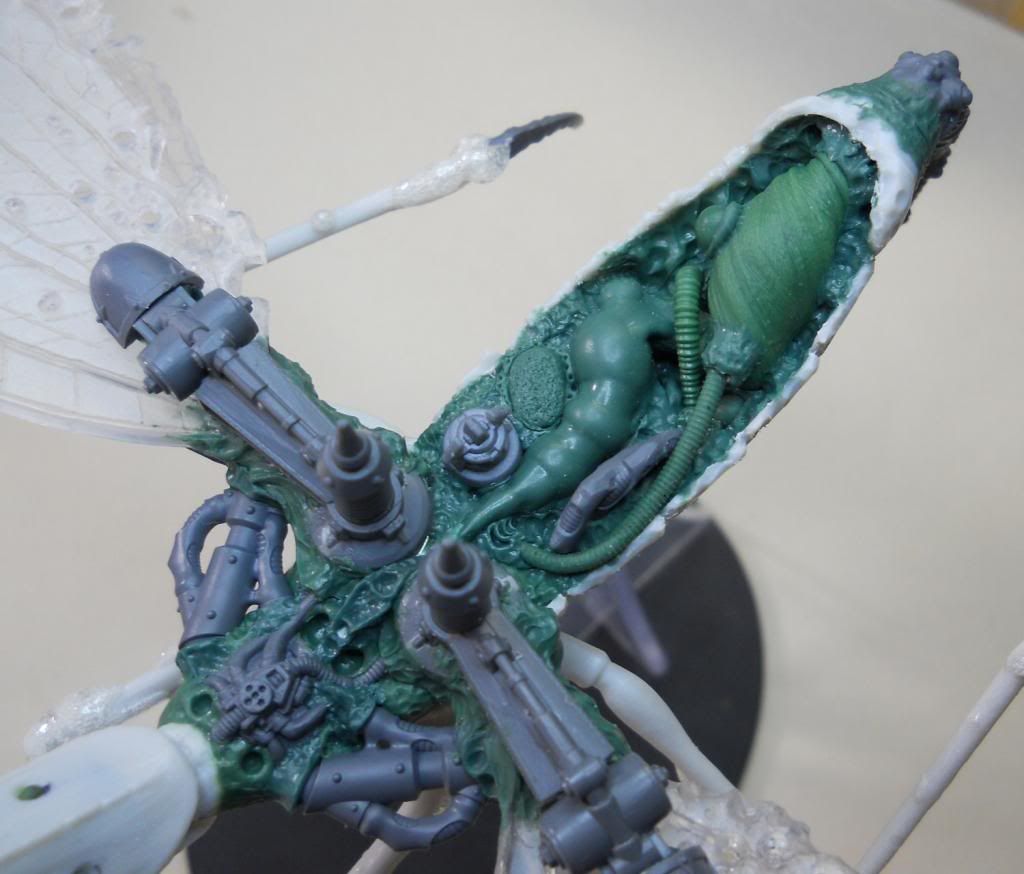
Now, the shapes in there are completely random. I just picked up some odd balls of GS I had laying in my detritus box, stuck them in a row on a long glob of GS on a glass plate, and then draped a smooth sheet of GS on top. Secure that sheet around the edges and let it cure... simple!
Interestingly, due to the proportions involved there was a vaguely humanoid look to the stomach. To me, it looked like there was a body inside being digested! "I should try to really make a dissolving Space Marine inside a giant stomach!" What follows is how that idea worked out.
What I used, tool-wise, while attempting this:
- Green Stuff
- Nitrile gloves
- A large sheet of label backing. The stuff you'd find a shipping label stuck to... super smooth so that the GS doesn't stick to it.
- My normal set of sculpting tools; primarily the steel embossing tools.
- A sheet of glass. Great for sculpting GS on.
- A small scrap of paper.
- A razor blade.
- Water, of course.
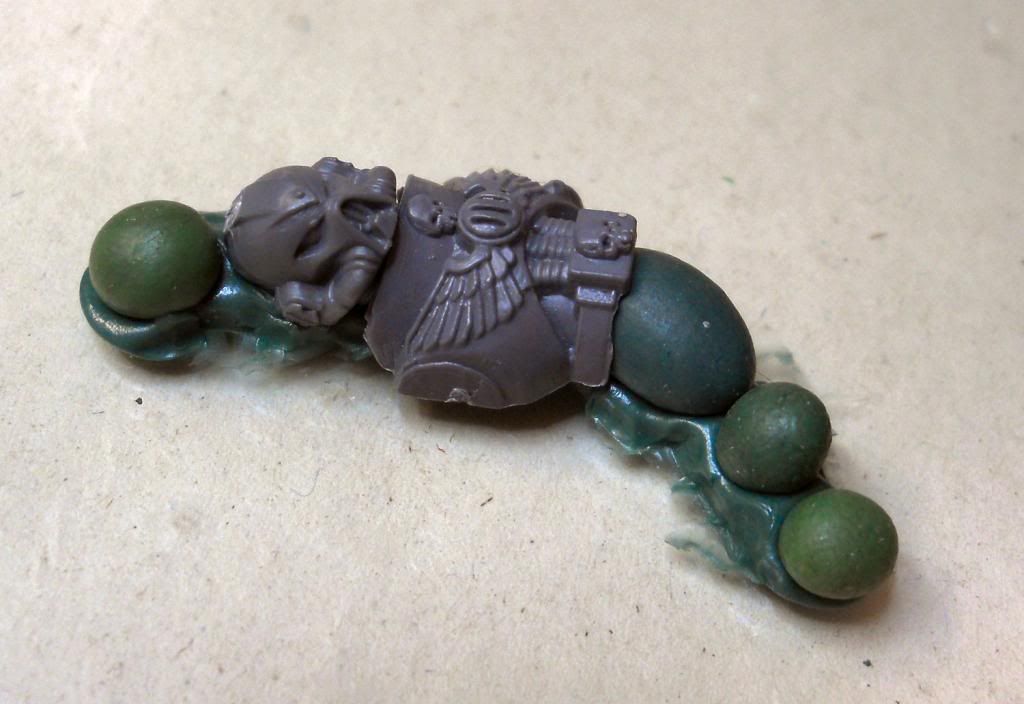
Lay out a line of GS on a sheet of glass and then stick the stomach contents on top. Let them thoroughly cure for 24 hours. The helmet and the breastplate were chosen because I have a million of each of them.

Mix up some GS, less sticky is better, and make a rough sheet with your fingers using the gloves and lots of water.

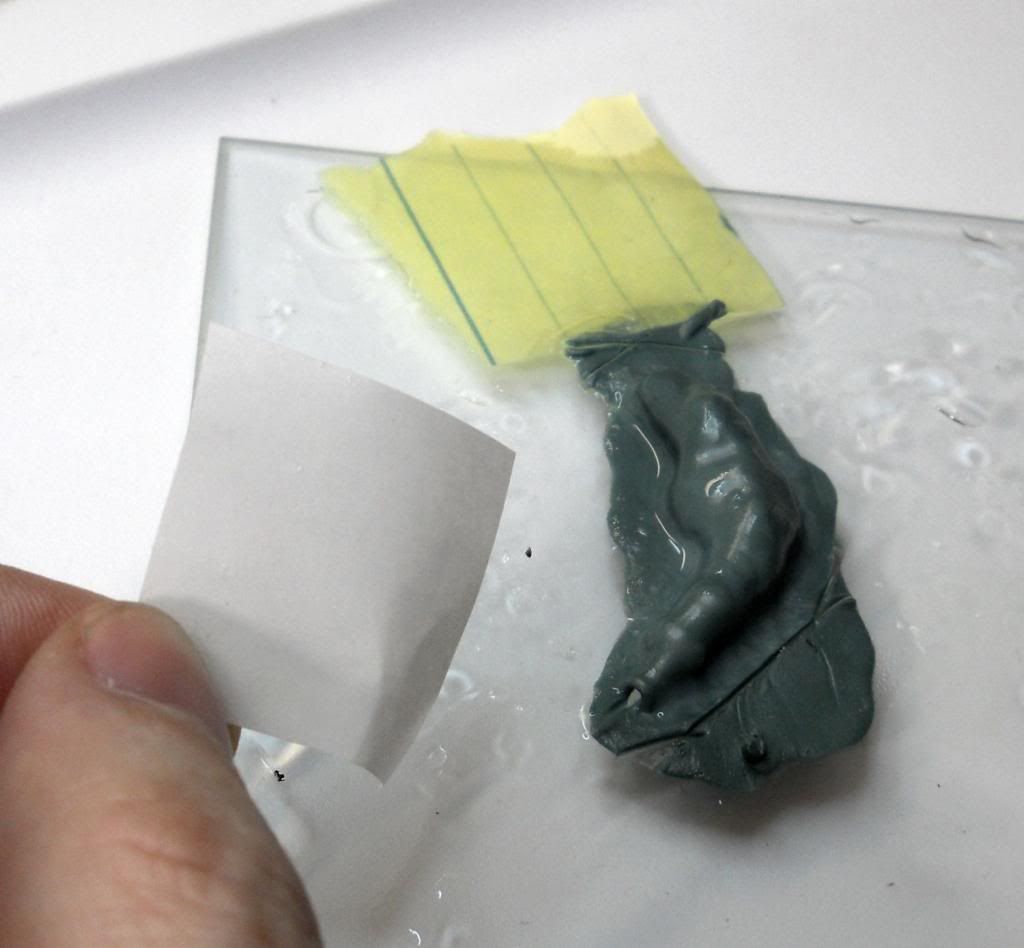
Lay your label backing on the table smooth side up. This label backing is where you'll be pressing the smooth GS sheet. Then, put a small piece of paper on the backing in about the same area you'll be making a GS sheet. When you place the rough GS sheet, make sure the paper is just under one of the edges. This paper will help lift the sheet off the backing.
Press the sheet out to about the dimensions you'll need and a good bit beyond. You want more sheet than you think, just in case. When you lift the sheet, you'll end up with the side that was down on the backing looking very shiny and smooth!

Gently lay the GS sheet, smooth side up, over your stomach contents.
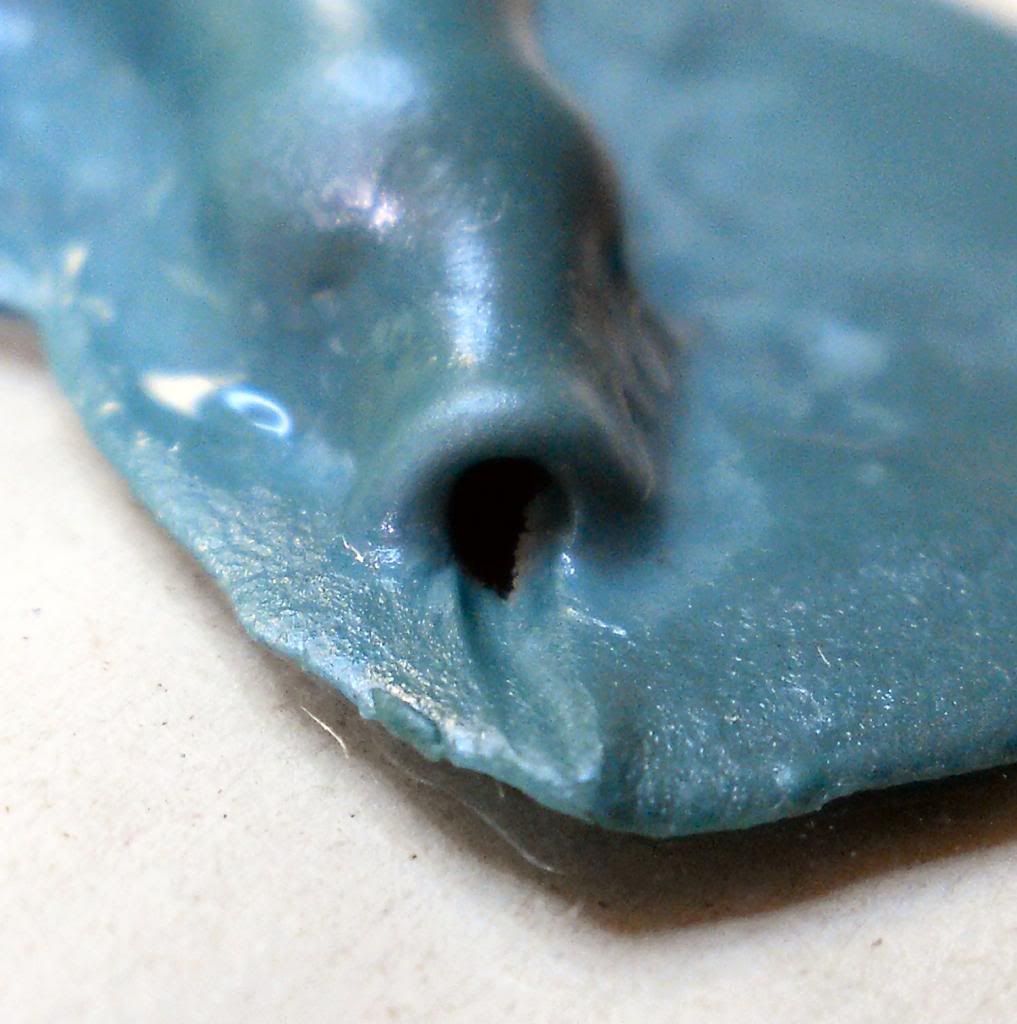
Poke an exhaust hole in one end. I found that once I sealed the edges, the air inside the sculpt wouldn't let the sheet settle on the contents completely. Press down on one part and the air inside causes another to pop up!
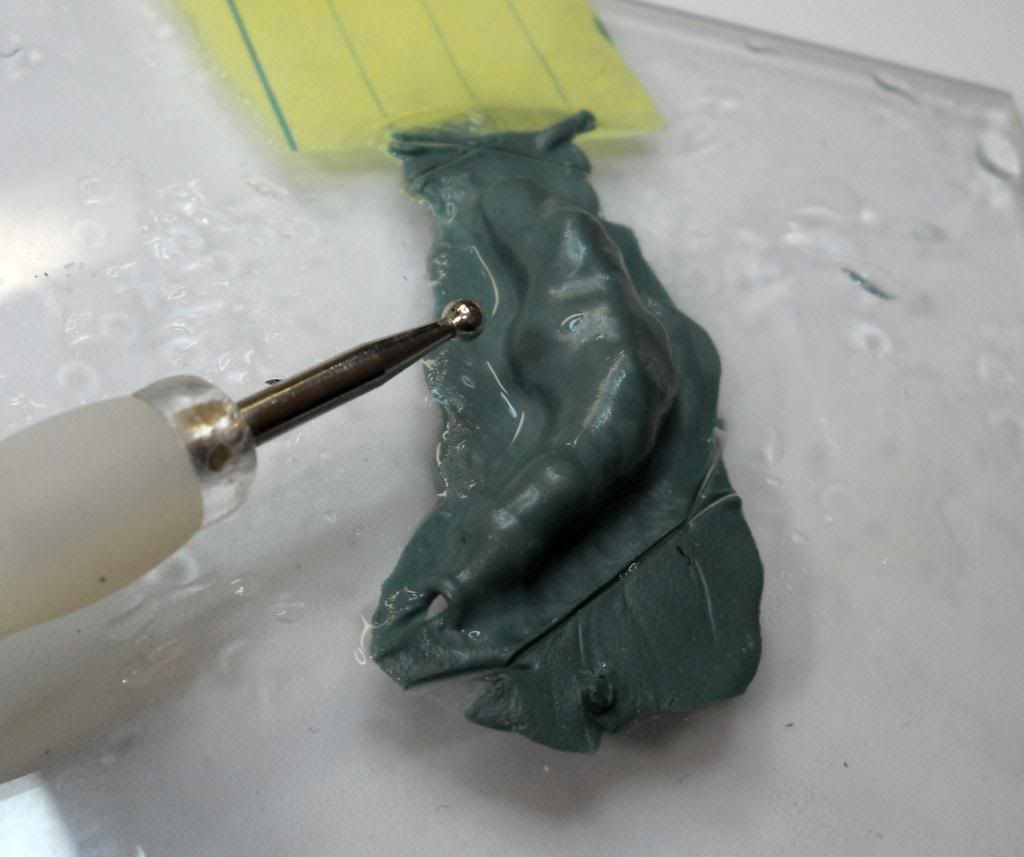
Secure the sheet around the edges of the stomach contents using a smooth sculpting tool. I used the embossing tool with the largest surface area. Try not to mess with any part of the sheet that won't directly contact the glass or the part of the stomach contents that is directly attached to the glass.
With all the care and finesse you can muster, gingerly pat the smooth GS sheet down onto the contents using a small square of label backing. This should secure a good portion of the sheet to the contents.
You will also notice in the photo above that I made cut marks in the excess GS attached to the glass sheet. The less you have to work your razor blade under when it is all cured, the better.
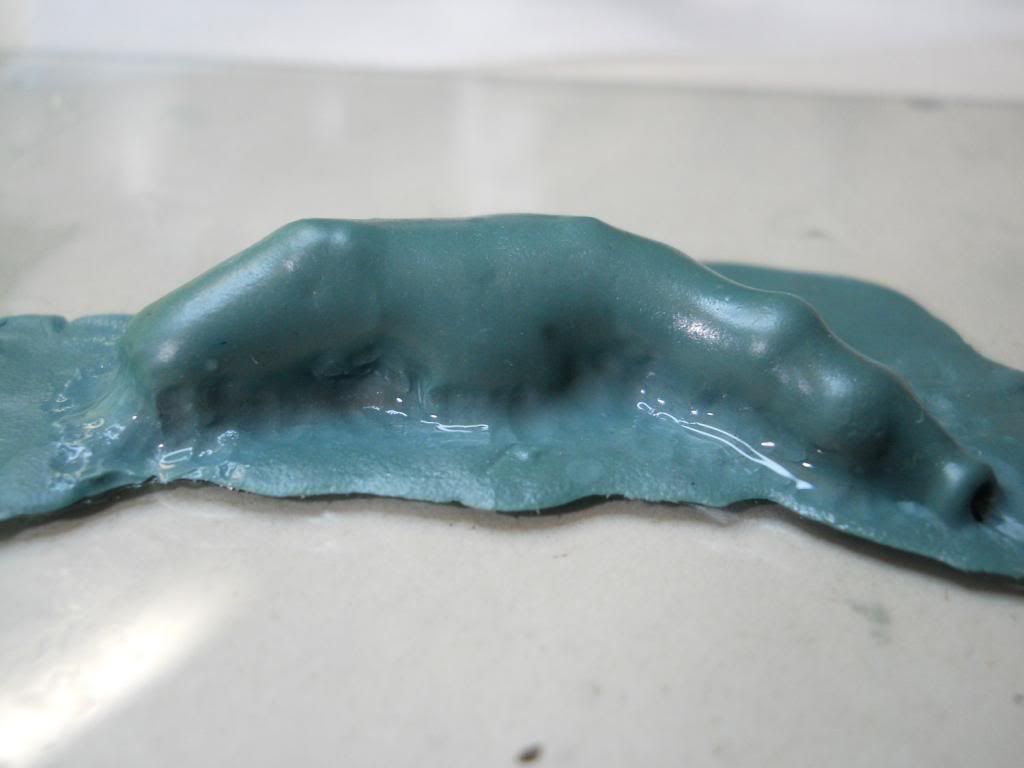
Using lots of water and a very gentle touch, work the GS sheet with a smooth tool to help bring out some of the underlying detail in the stomach contents. Work axially, down the length of the organ to help suggest stretch marks in the flesh.
 |
| Right after sculpting, uncured. |
Let this cure completely for another 24 hours. In curing, the GS should shrink slightly and bring out a bit more detail if the GS sheet is thin enough.

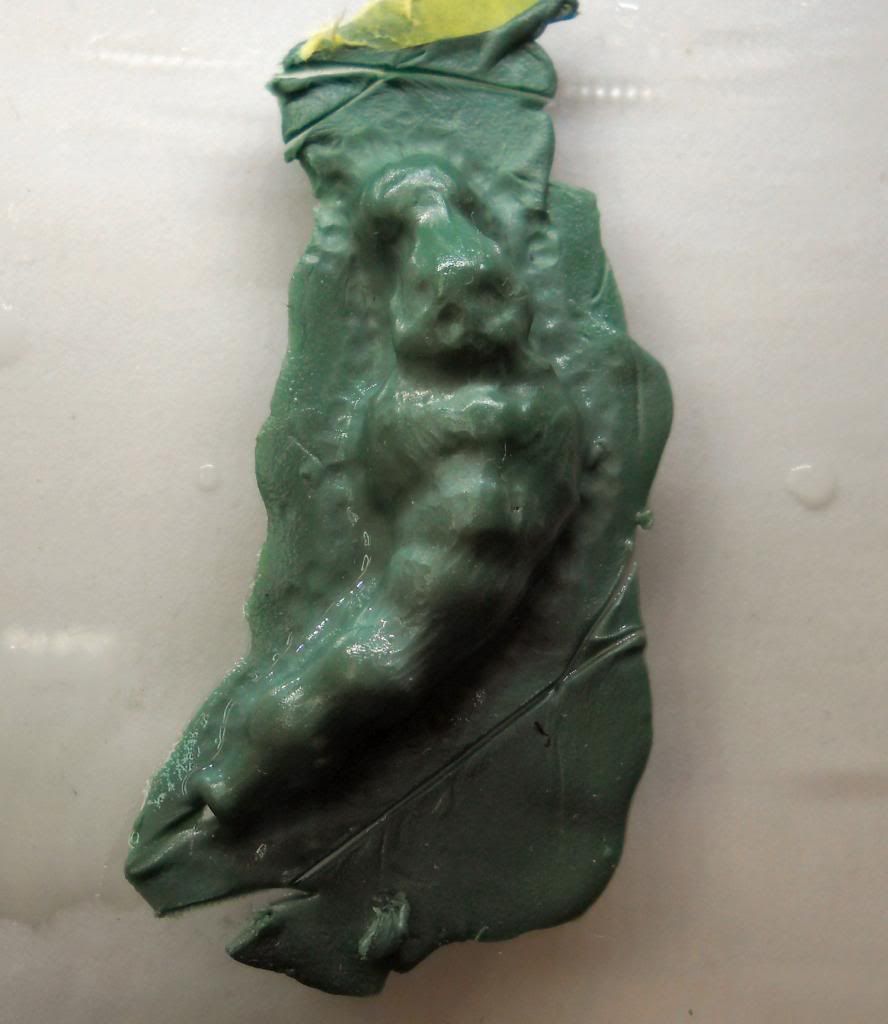
When it's all cured, work a sharp hobby knife between the sculpt and the glass and it should pop off nicely.
 |
| Scraped from glass, cured. |
The excess can be trimmed with scissors or a hobby knife.
If I could have gotten the smooth sheet thinner I probably could have avoided all the extra tool work after draping the sheet on the stomach contents. It likely would have showed the detail on it's own during the cure. Thin smooth sheets are tough because the thinner the GS, the harder it is to move lift from the backing without tearing it. I'll likely try this again soon and share the results.
Happy Bashing!

That is fantastic! Great work, man!
ReplyDeleteThanks Mordian! Haven't posted much lately as the LVO sorta burned me out with all the preparation. I'm just now getting my groove back.
DeleteAbsolutely fantastic, very imaginative and great execution.
ReplyDeleteIDK about any great imagination... but, thanks for your kind words, Chris!
DeleteJaw dropping work!
ReplyDeleteThank you, as well, Sr. Dies! High praise, indeed!
DeleteWow, man. You're just getting better and better!
ReplyDeleteThanks, Krisken! That's good news! I mostly just try stuff and sometimes it works out.
DeleteAbsolutely sick! I love it!
ReplyDeleteYour work on that Nurgle Heldrake is pretty damned good, too! And thanks for the support, Jugger!
Deletehttp://juggersgarage.blogspot.com/2014/03/nurgle-heldrake.html
Sweet, nice tutorial. Maybe some victims in "sacks" on a Nurgle tree our in my future.
ReplyDeleteThat's an awesome idea, Butcher! I'll have to steal it! And thanks!
DeletePretty cool! With a bit of flexibility you can pop out the plastic bits for use in another project.
ReplyDeleteBy the way, I'd use blu-tack for the basing of the bits to be covered, then pop it in the freezer to harden it and avoid using more GS than necessary.
DeleteThanks for the ideas Jose! I'd be afraid of popping out those bits now. But, if I started the sculpt with the idea of retrieving the bits I think that wouldn't be too hard.
DeleteAnytime! I'm getting motivated to update my blog soon enough. http://thirstandrage.blogspot.com/ Especially now that I've got the tentacle makers!
DeleteGood! I'm happy to have helped motivate you. Don't forget to send me pictures or let me know when you post stuff that used Tentacle Makers. I'll upload the pics to the GSI Gallery or point folks to your blog.
DeleteSICK! I love it!!!
ReplyDeleteThanks, Jugger! Kinda proud of this one still. Unfortunately, 40k is no longer my primary game. GW, please give us better options for CSM!
Delete