

by Novus
With Paint By Numbers part seven I'm going to take over from Gabriel and go into how I dry brush my Plague Marines and other troops.
If you don't have an airbrush, which I didn't for a very long time, dry brushing is the way to go for your 40mm based models and smaller. But, there are a few things you should know before you dive in. For instance...

Start with a black base coat. You'll be building your colors from dark to light, starting there. It will be very hard to use a white base because dry brushing is all about the raised contours of the model. As you dry brush, the recesses don't typically get painted, so you don't want them a light color. I suppose it's possible to base in white, but it will be far more work than starting with black.

When dry brushing, you need very little paint on the bristles. I never thin the paint from the pot/bottle and I always brush off the excess onto my paper mat (above). I know I have the correct amount of paint when my brush barely leaves any paint behind on the mat.
Also, try not to use the tips of the bristles, use the sides. The tips will tend to fall into the recesses of the model and mess up the shadow effect of your nice black base coat.
Try to have at least 3 shades of the color you are going to use. Typically, I like to have at least 4 with an extra-light shade for extreme highlighting of important bits. In the photo at the top you can see the colors I use for my Plague Marines and Plaguebearers: Dark Angel Green (GW, left to right), Flat Green (Vallejo), Goblin Green (GW), Scorpion Green (GW), and for the super highlight Moth Green (Reaper). Feel free to mix your own. I'm too lazy for that!
Also at the top, you'll notice that I'm using the super cheap and extra-crappy Testors modeling brushes. Dry brushing will mess up your brushes (unless you are super careful, which I'm not). Use either old brushes or cheap brushes when you start out with this technique.
Keep in mind, dry brushing is not just about the colors you use, it's about where you put them. Like in any other type of painting, you want to simulate where the light actually comes from. Most cases this will mean directly above; but in other cases it could mean you are trying for an Object Sourced Lighting effect.
Dry brushing is not the end of the line, either. It can make your models meet a 3-color minimum, looking decent for little effort, but there is still washing and detailing to be done after.

I start the dry brushing by covering the entire model with a sloppy but thorough coat of my darkest shade. In this case, Dark Angels Green. I want the darkest areas, the recesses, of the model to not be a uniform black. I feel this makes the model a bit more believable.

Next is a neater but just as thorough coat of the next lightest color, Flat Green. I try to cover slightly less area with this shade than I did with the black/DA Green. This gives you a nice mid-tone and your shadows some depth.

For the next lightest color, Goblin Green, I paint only downward. This tends to lighten the face, the upper chest, the shoulder pads, the upper surfaces of the backpack, and the tops of the feet. This gives the light the all important directionality. I suppose this is sort of a pseudo-zenithal lighting technique.

The final dry brush color is Scorpion Green. I apply this to only the face and the upper surfaces of the arms, shoulder pads, pack, and head; i.e. more of the half-assed zenithal lighting. This also brings out the face and the shoulder pad details.
Once you know the correct amount of paint to have on the brush, the key to making dry brushing look good is to apply the lighter paints to smaller and smaller areas. When you have those two things down, you're golden!
After you have your 3+ shades of paint laid down, you would start the highlighting and detail painting. When all is said and done I end up with models that look like these...


And from previous posts...

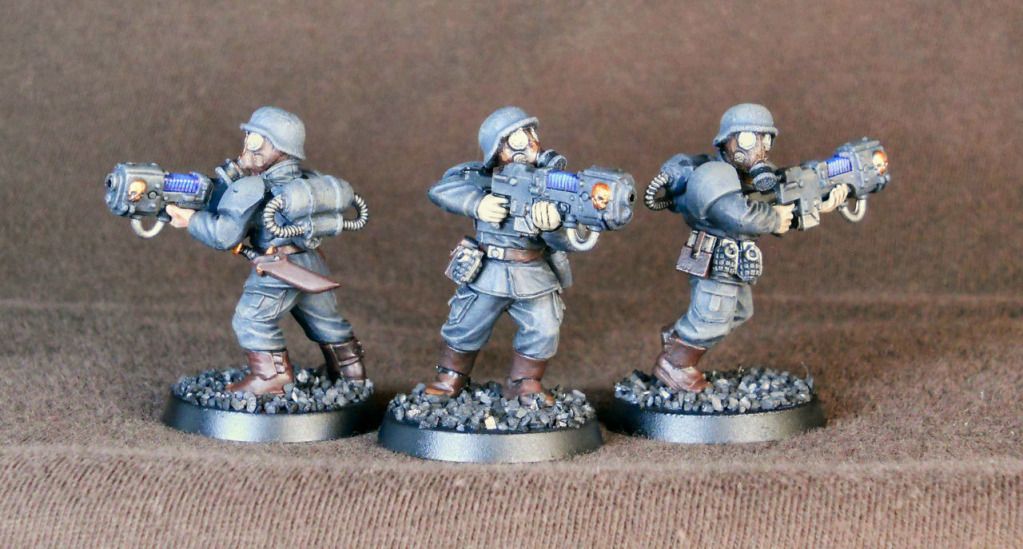
Dry brushing works remarkably well for models with fabric on them, such as robes or BDU's.


Dry brushing probably isn't going to win you any painting competitions, but it is a simple and effective way to get your models looking pretty good for the table top. Good luck and happy bashing!

No comments:
Post a Comment