

Guest Post by Jose Fabian
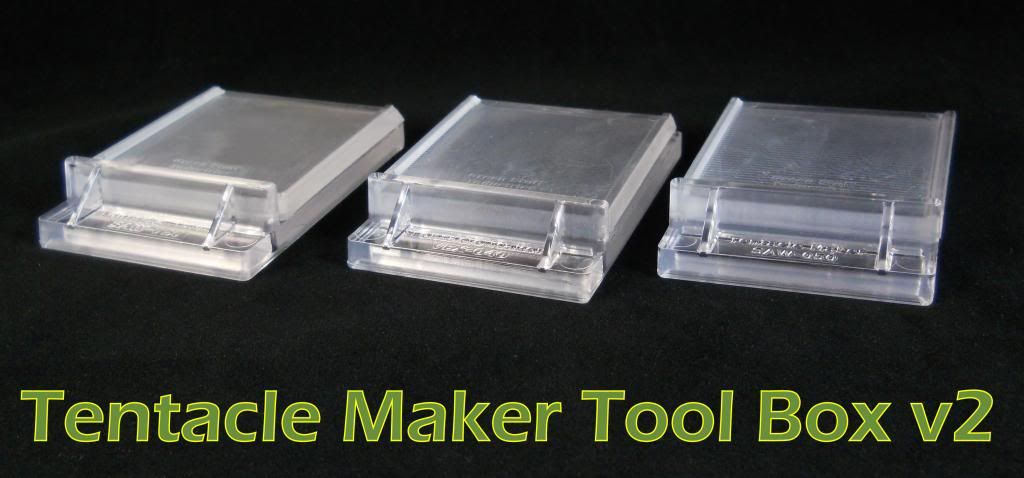
Today GSI is proud to present an impressive guest post by Jose Fabian of the blog Thirst and Rage. He exhibits some pretty advanced sculpting skills and utilizes a Tentacle Maker Tool Box v1 to augment his work.
<<< >>>
So, here's my take on Mephiston.
Well, as pretty as the old Mephiston model is, and as well as it has stood the test of time, I felt it was lacking in its dynamism. As such, I felt obliged to sculpt what I thought he should look like, trying to stay both as true to the character's concept and background, but also streamlining some aspects a bit. Here's what I did, as well as commentary on some of my choices:

First of, I had to do a bit of digging to find the appropriate accessories, as well as some aids to help me sculpt.The pistol is just a plain plasma pistol from the assault squad pack. I settled on the warriors of chaos sword arm that was most similar to the original, as well as the left forearm bit with the weapon removed. The head is from the same kit, the bare head with horns with the gorget trimmed down to shape the chin and the horns, of course, removed. The face also had a bit of scarring on the left side which I proceeded to fill and smooth with GS.
The next step was using Instant Mold (Polycaprolactone) to copy the Astorath's chest and shoulder pad.


For the robes, I used my method to making capes and, once cured, proceeded to blend them in.


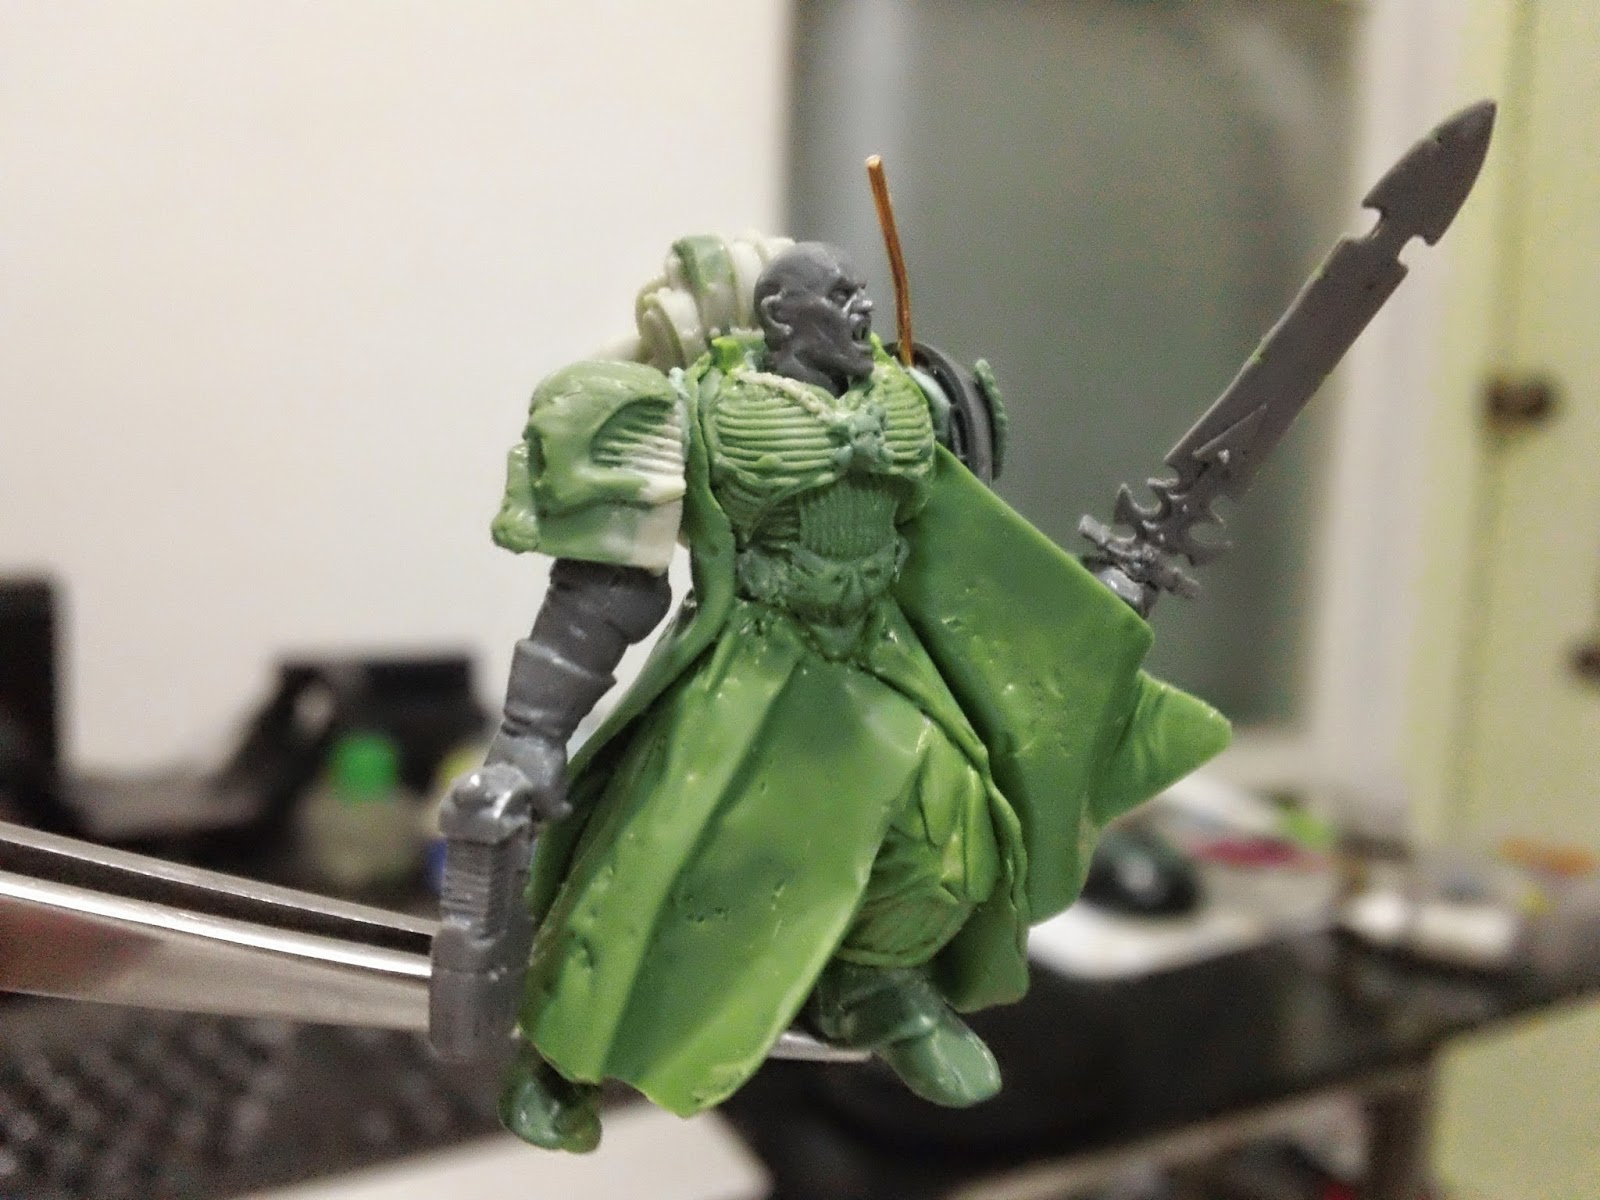
Here's a mock up with all the parts in place
The skull shoulder pad needed a bit of work to make it fit and look like a regular shoulder pad, forming the inner ridge, and finally had to add the top BA symbol to its forehead as it didn't come out just right in the first cast, which gave it a bit more volume. I think it came out well.

For the power pack, I used a FW power pack bit from the special weapons kit. I do recommend that kit since it gives your heavy weapons guys a bit of a retro look. I couldn't spare one for meph so I copied it with Magic Sculpt resin. All of the light green work you see is simply GS mixed with MS to give it a finish that's solid, less rubbery, and better for sanding. Thanks to Master of the Forge for the tip.

The hair is simply me using a pair of long, fine tweezers on GS and covering everything with glycerin. This allows me to give it a smooth surface as well as have thin materials without sticking. Just squeeze out some parallel flaps of GS and start layering as curls. Remember to think about where the wind is coming from, this let me have some of the hair on his right cheek.
The last detail was me adding some hand spun wires, as well as using the Green Stuff Industries' Tentacle Maker for the cable leading up to the sword. The results were incredible!

Now, my habits being what they are, I covered the whole working surface with glycerin to prevent any sticking to my newly acquired tool. I made a thin GS string and within minutes I attached it to its place. I plan to do a minor anchor point at the shoulder to make the cable pose look more realistic, but the results give a very different looking cable from what I made with wire, definitely unique.

With the extra GS I had, I made a fatter cable with an embedded wire, and then used the flat parts to make it look like an armored cable like those on terminators. The wire will let me pose it later on for another project.


<<< >>>
Please feel free to visit the new Green Stuff Industries website and store and explore the Tutorials, Downloads, and Gallery pages! Be sure to have a look at not only the v2 Tool Box, but all the other great hobby tools and gaming gadgets we offer!

This comment has been removed by the author.
ReplyDeleteExcellent! I love seeing the final products! Keep up the great work, Jose!
Delete